


Authentication in Web3 is extremely easy but supporting all the wallets and making a nice UI can be painful and time-consuming. Thankfully, there are many libraries which makes this extremely easy as well. Today we are going to be looking at adding RainbowKit to a React App.
What is RainbowKit?
RainbowKit is a React library that provides us with components to build a Connect Wallet UI in a few lines of code. It comes with support for many wallets, including Metamask, Rainbow, Coinbase Wallet, WalletConnect, and many more. It is also extremely customizable and comes with an amazing built-in theme.
RainbowKit uses Ethers.js and Wagmi, both popular libraries in this space, under the hood.
Also, it is developed by the same team behind the beautiful Rainbow Wallet
Creating a new Next.js App
Run the following command to create a new Next.js app (note that you can use it on a regular React app too) -
# With NPM
npx create-next-app rainbowkit-demo
# With yarn
yarn create next-app rainbowkit-demo
Now, move into the project directory and open it in your favorite code editor.
Adding RainbowKit to our React app
Run the following command to install RainbowKit and its peer dependencies -
# With NPM
npm install @rainbow-me/rainbowkit wagmi ethers
# With yarn
yarn add @rainbow-me/rainbowkit wagmi ethers
Now add the following code to pages/_app.js -
import "../styles/globals.css";

import "@rainbow-me/rainbowkit/styles.css";

import {
  apiProvider,
  configureChains,
  getDefaultWallets,
  RainbowKitProvider,
} from "@rainbow-me/rainbowkit";
import { chain, createClient, WagmiProvider } from "wagmi";

const { chains, provider } = configureChains(
  [
    chain.mainnet,
    chain.polygon,
    chain.goerli,
    chain.rinkeby,
    chain.polygonMumbai,
  ],
  [apiProvider.fallback()]
);

const { connectors } = getDefaultWallets({
  appName: "My RainbowKit App",
  chains,
});

const wagmiClient = createClient({
  autoConnect: true,
  connectors,
  provider,
});

function MyApp({ Component, pageProps }) {
  return (
    <WagmiProvider client={wagmiClient}>
      <RainbowKitProvider chains={chains}>
        <Component {...pageProps} />
      </RainbowKitProvider>
    </WagmiProvider>
  );
}

export default MyApp;
Firstly, we import the RainbowKit styles, the RainbowKitPovider and other functions to configure our chains, and the WagmiProvider.
Next, we configure the chains which we want to support. In this example, I have added the Ethereum Mainnet, Polygon Mainnet, Goerli and Rinkeby (both Ethereum test networks), and the Polygon Mumbai testnet. We are using the public fallback RPC URLs for the purpose of this demo for our API providers. RainbowKit also lets us specify our own JSON RPC URLs or Alchemy or Infura URLs for our API providers. You can see the API Providers documentation here.
Next, we create our wagmiClient, passing in the autoConnect and setting it to true. Our app will automatically reconnect to the last used connector this way.
At last, we wrap our application with WagmiProvider and RainbowKitProvider.
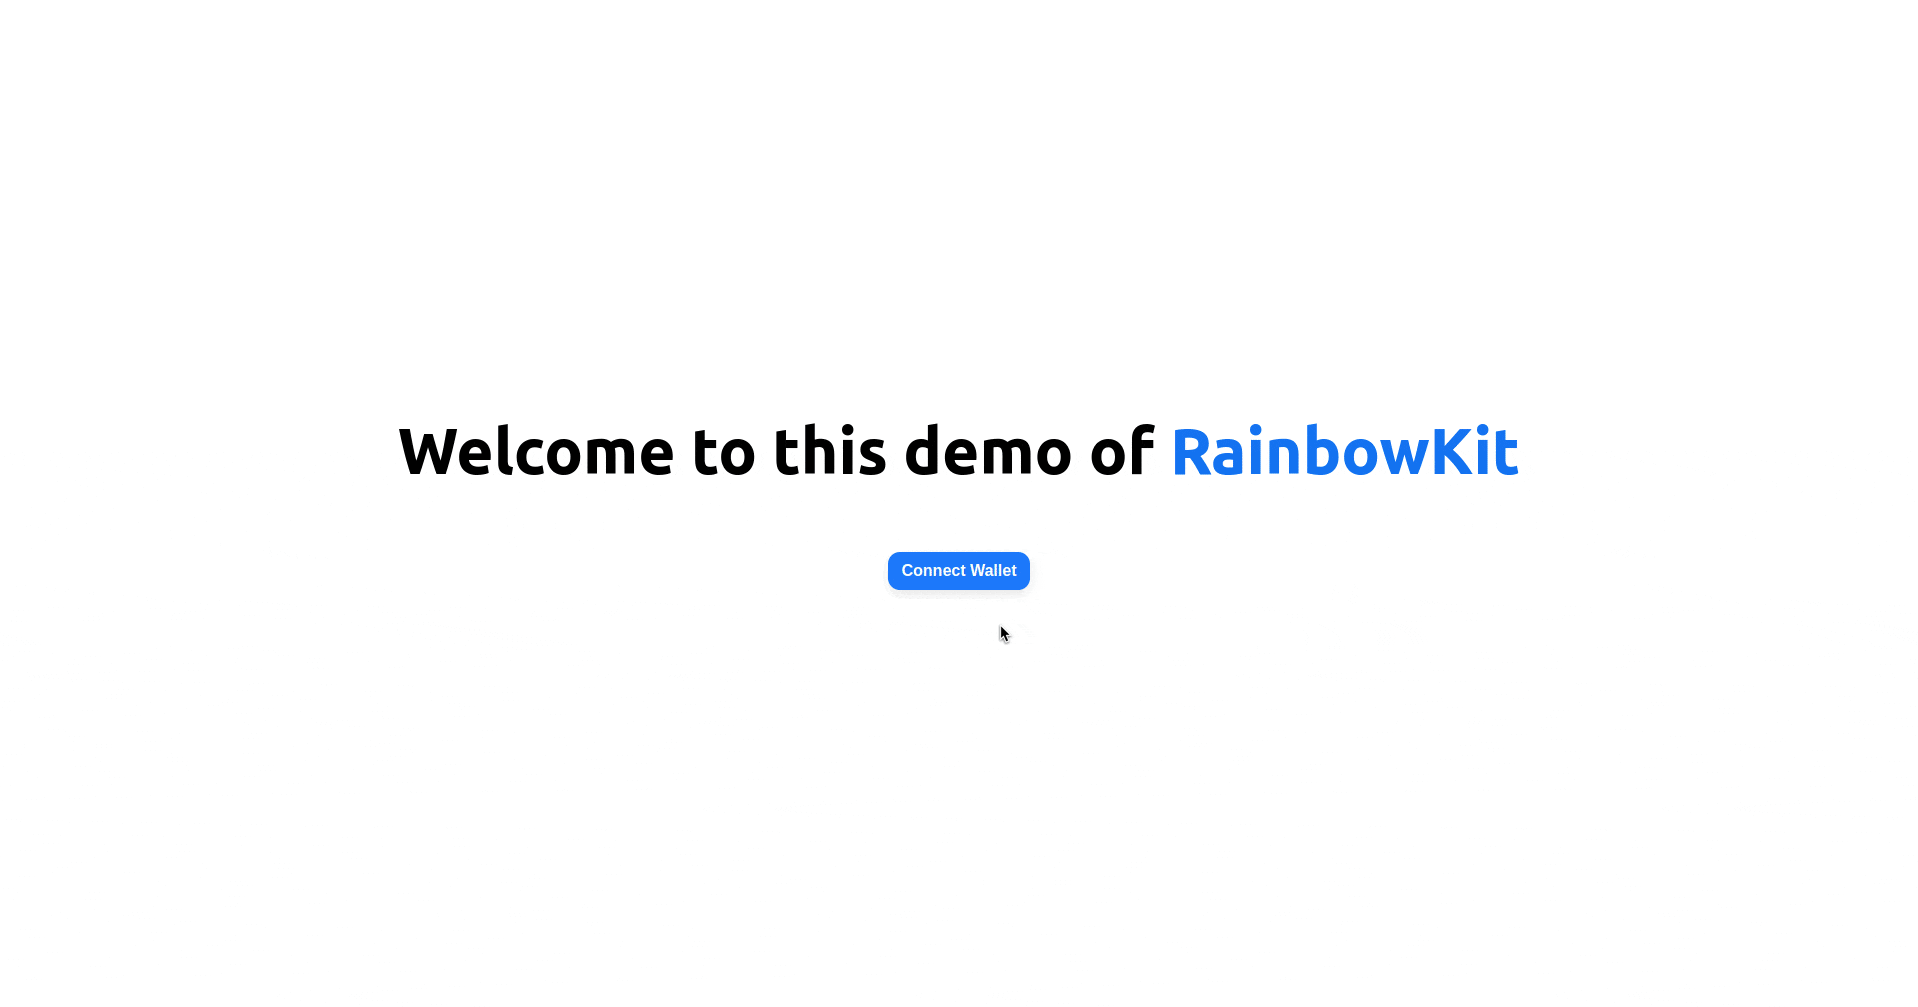
Next, let us add the Connect Wallet button to our app. Replace the code in pages/index.js with the following -
import { ConnectButton } from "@rainbow-me/rainbowkit";
import Head from "next/head";
import styles from "../styles/Home.module.css";

export default function Home() {
  return (
    <div className={styles.container}>
      <Head>
        <title>RainbowKit Demo</title>
        <meta
          name="description"
          content="Demo app part of a tutorial on adding RainbowKit to a React application"
        />
        <link rel="icon" href="/favicon.ico" />
      </Head>

      <main className={styles.main}>
        <h1 className={styles.title} style={{ marginBottom: "4rem" }}>
          Welcome to this demo of{" "}
          <a href="https://www.rainbowkit.com/">RainbowKit</a>
        </h1>

        <ConnectButton />
      </main>
    </div>
  );
}
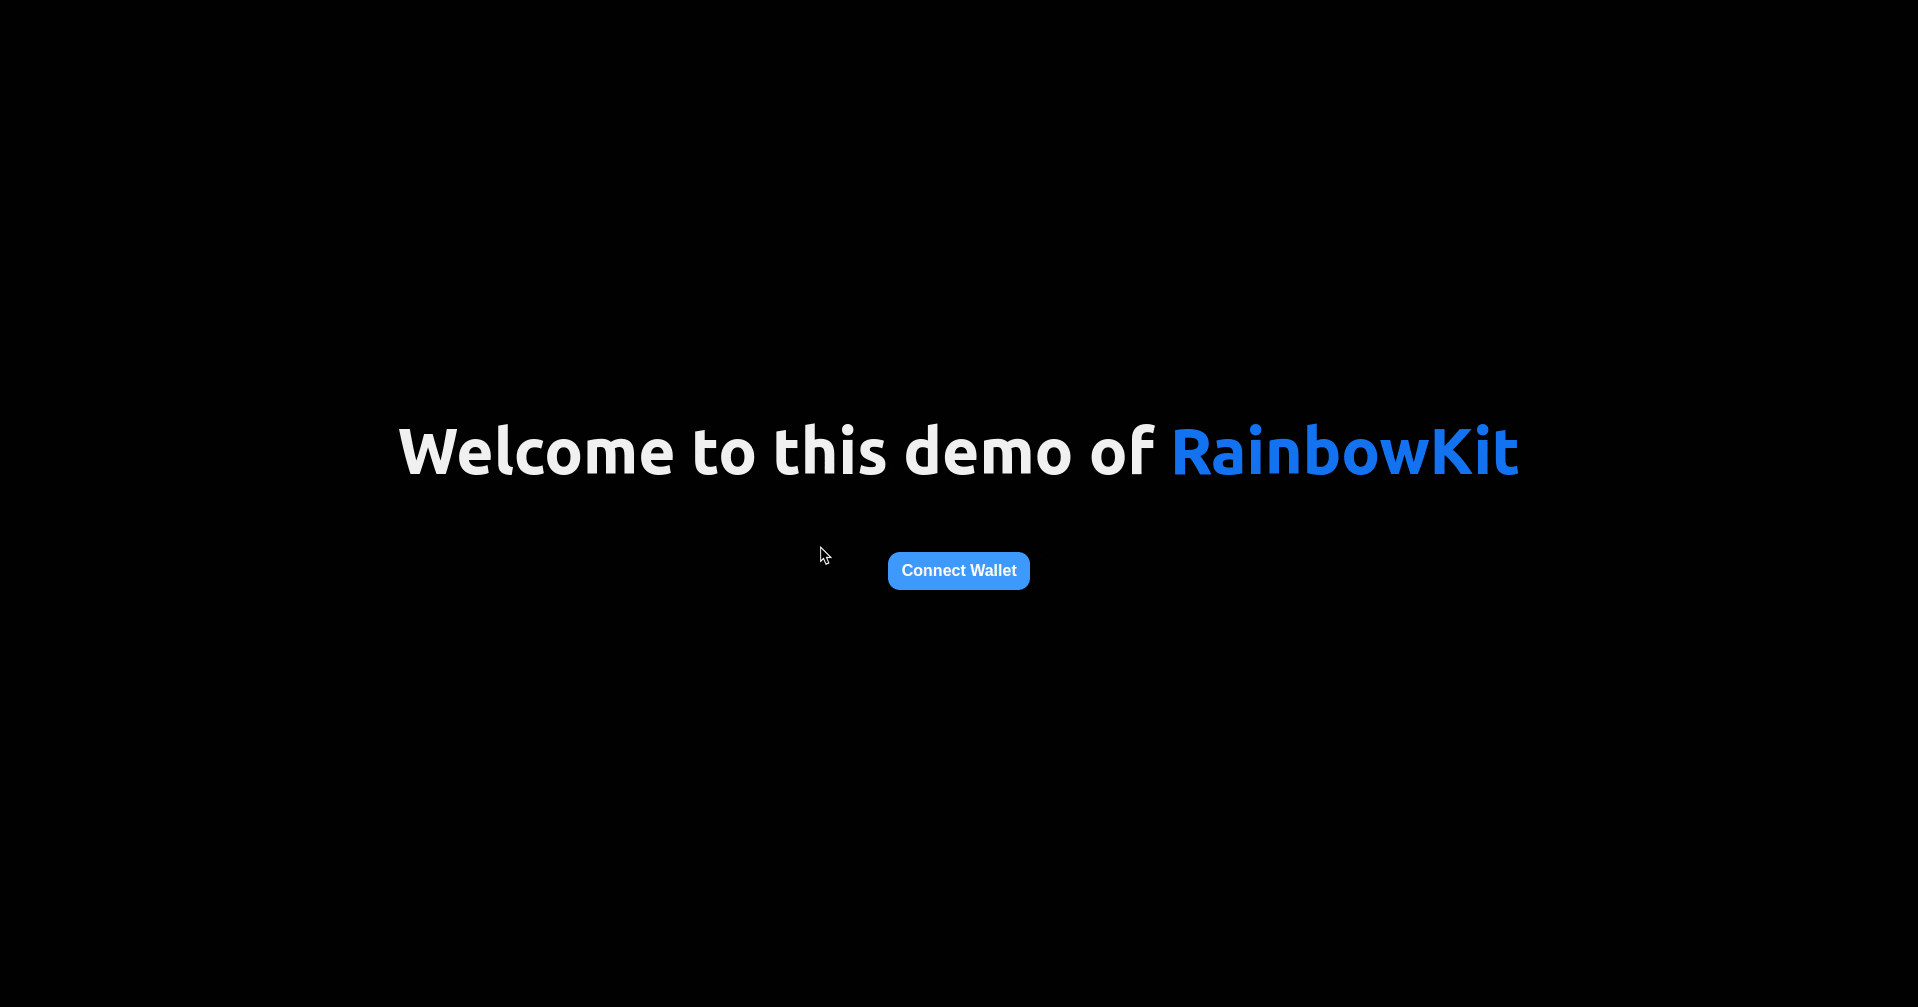
Now run npm run dev or yarn dev and open up localhost:3000 in your browser and you should see this -
Making it dark mode 🌑
Time to make sure our eyes don't burn anymore.
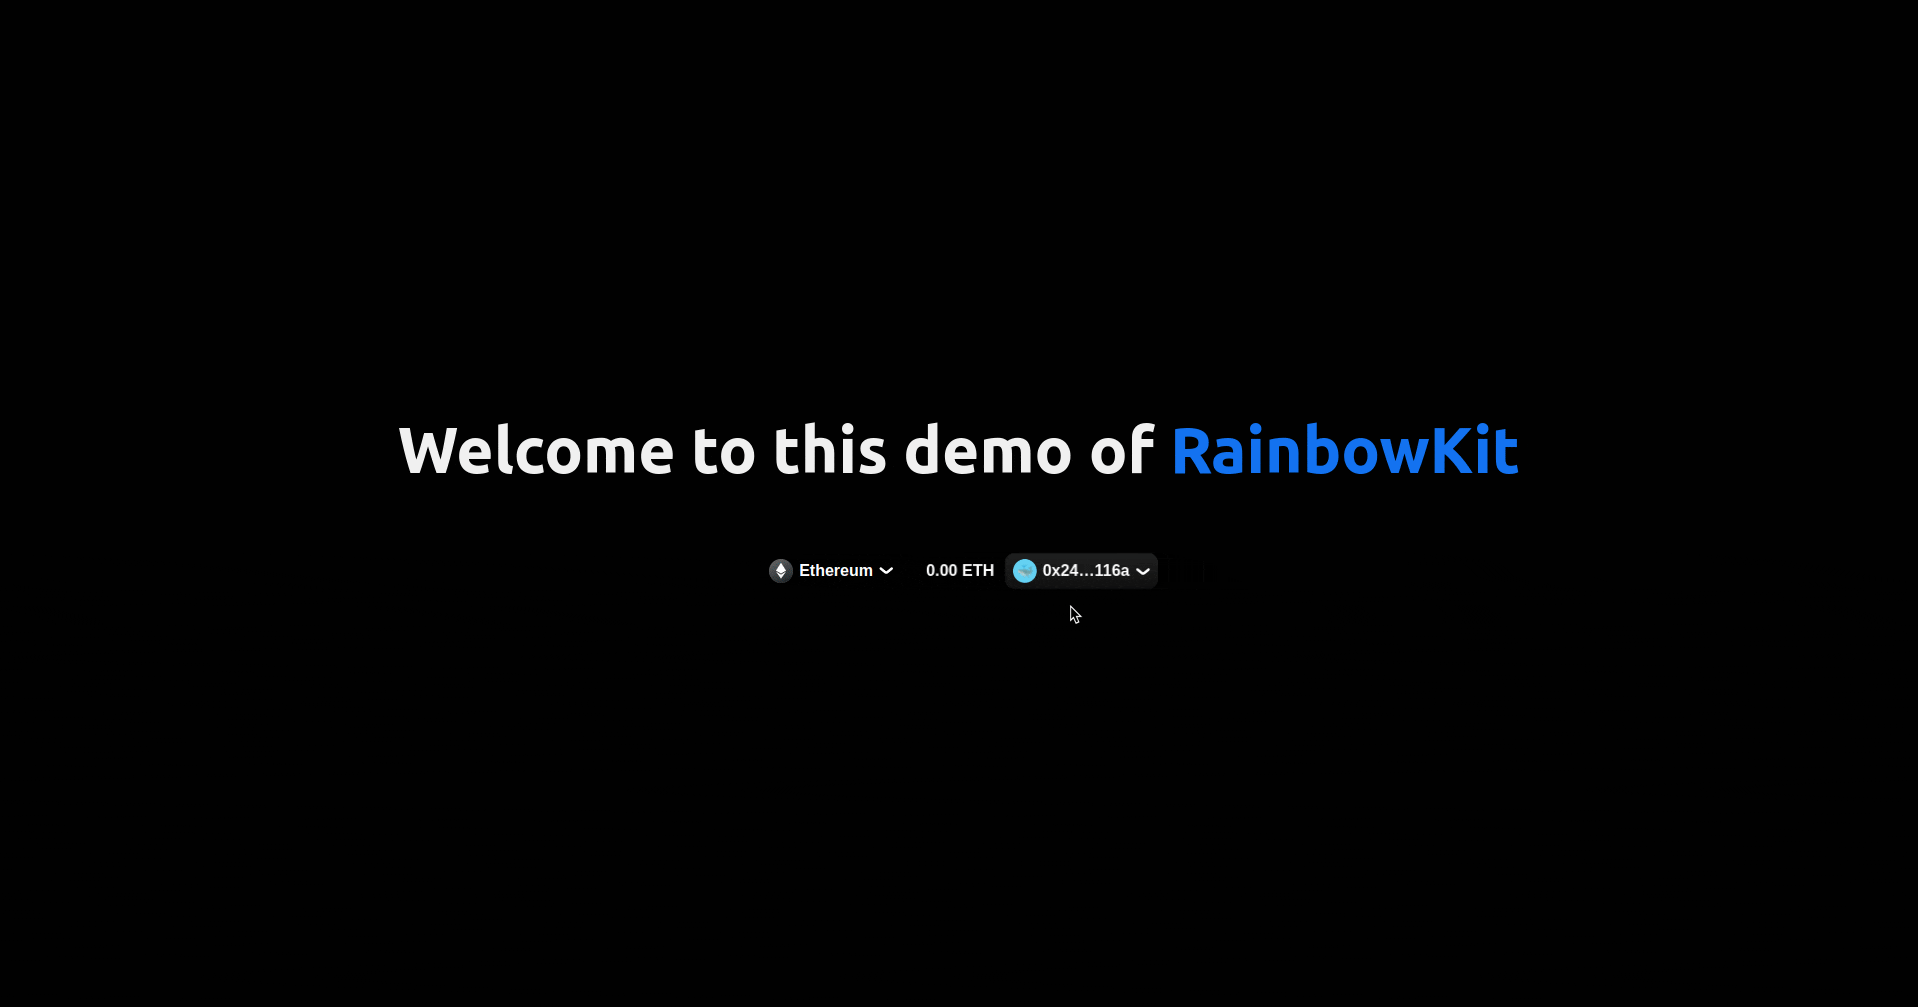
Head over to pages/_app.js and import the midnightTheme function from RainbowKit. (Alternatively, you can also import the darkTheme function, a dimmer version of midnight)
import {
  apiProvider,
  configureChains,
  getDefaultWallets,
  midnightTheme,
  RainbowKitProvider,
} from "@rainbow-me/rainbowkit";
We must also pass in our theme to RainbowKitProvider -
<RainbowKitProvider chains={chains} theme={midnightTheme()}>
RainbowKit supports more advanced theming, you can see the RainbowKit Theming docs here for more information.
Also, add this small piece of code to styles/globals.css to make our app dark mode too -
body {
  background-color: #010101;
  color: #f0f0f0;
}
Now our app should look like this -

A tour of RainbowKit
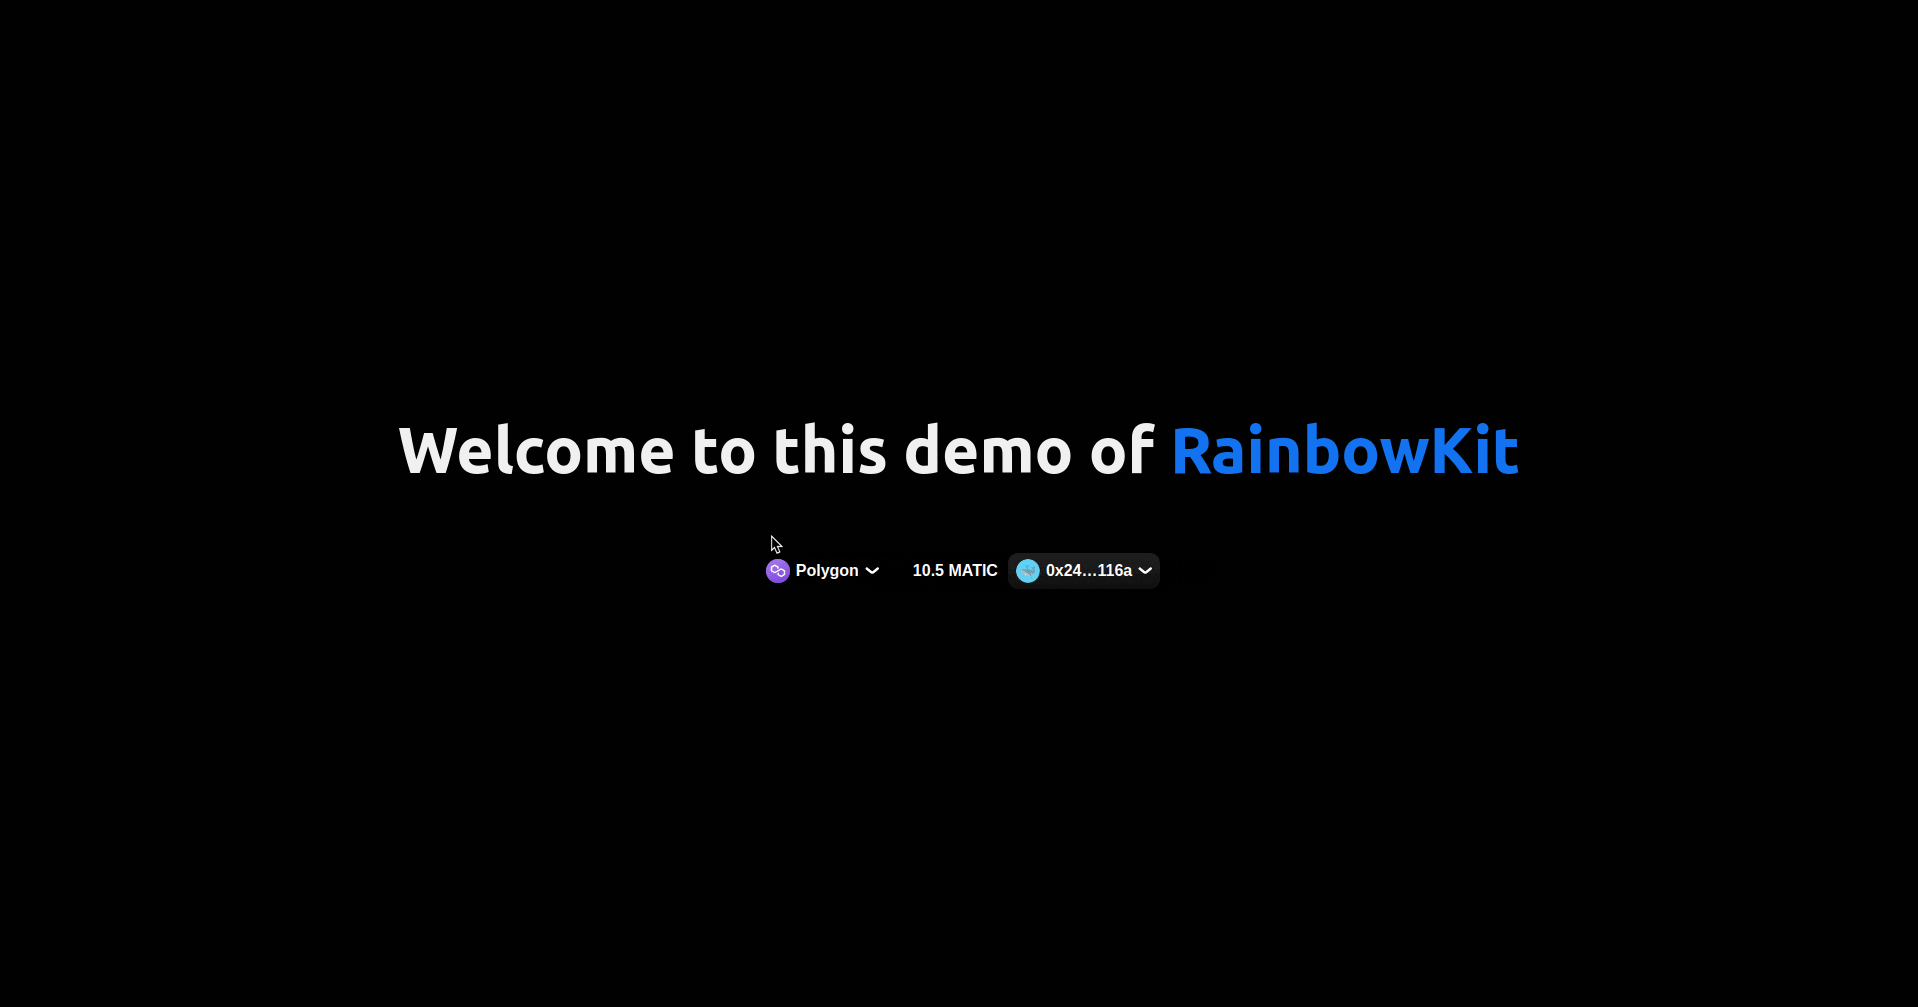
After authenticating with a wallet, our connect button will automatically change to a network switcher which also show us our balance and wallet address -

Switching the network is as easy as clicking the network switcher and then selecting the network we want to switch to -
Clicking on our wallet address gives us a modal with the option to copy our address or disconnect our wallet -
Cool Mode 😎
Let's make our application a little cooler :)
Just add the coolMode prop to RainbowKitProvider -
<RainbowKitProvider chains={chains} theme={midnightTheme()} coolMode>
Now if we click on any of the options in the connect modal, we will get some amazing confetti 🎊
Conclusion
That was a basic demo of what RainbowKit can do, but it can do a lot more like show recent transactions. The best place to learn more about it is RainbowKit docs.