

Privacy friendly website analytics with Umami and NextJS
Deploying Umami to Railway


Website analytics is truly a very important thing. We can understand our audience well and can tailor our content to our audience for higher engagement. Google Analytics had always been the go-to solution as it is popular, easy to set up, and gives a lot of data.
However, Google Analytics has got its own set of issues. One must ask for a cookie consent to use Google Analytics as Google Analytics uses cookies. The Google Analytics script is also quite big and is known to slow down websites. There have been recent allegations against Google Analytics for not being privacy-friendly and many European authorities have also found it breaching GDPR.
So, what is the solution?
Over the years, many privacy-friendly analytics solutions have emerged including Fathom Analytics, Plausible Analytics, and Umami Analytics. The last 2 are open-source and all 3 of them are cookie-less and have a lightweight script that should not affect website load times.
We are going to be focusing on Umami in this article
A little bit about Umami
Umami is an open-source self-hosted analytics service. This means the source code can be accessed by anyone and one must host it themselves. Now, you might say that this costs money and it is not free but today we are going to look at how we can host it for free. Also, Umami uses NextJS API routes for the backend and hence it can run on any serverless architecture. We are going to be looking at setting it up on Railway today, however, it can also be hosted on Vercel or Netlify. We are also going to look at adding analytics to a NextJS application.
You can see a live demo of the platform here
Fun fact: Hashnode also uses Umami and is rolling out an Umami dashboard as advanced analytics 😎
You can see the public analytics for my blog here
Hosting Umami for free on Railway
Railway is an awesome hosting platform that lets you host applications quickly and easily. The free plan allows usage of up to $5/month which should be good enough for a few small to medium-sized websites.
In fact, I have been using it for the past 3-4 months and it has been an amazing experience. My usage costs are usually lower than $2/month and hence I have never paid anything. You don't even need to link your credit card!
My usage this month (3 websites) -
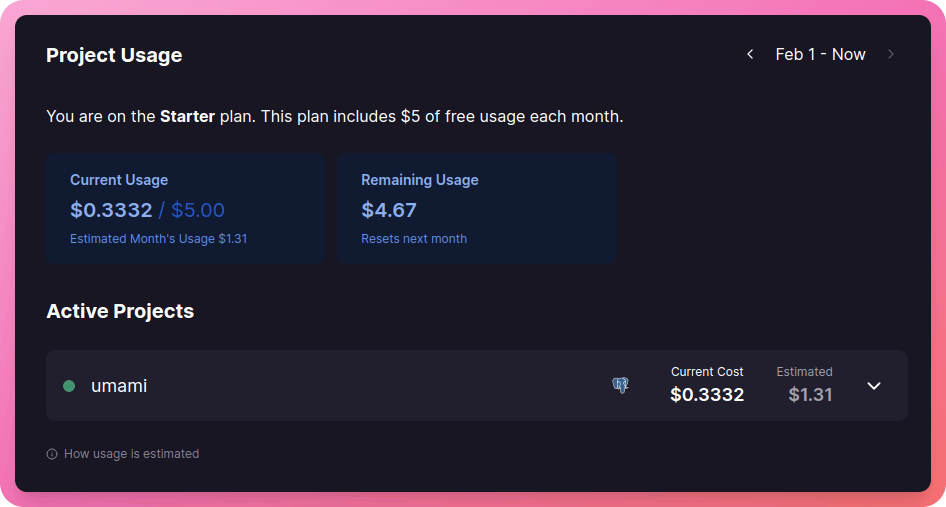
You can also link a credit card to get $10 of usage per month for free (you will be charged for anything above that).
You can sign up here
Setting up the project on Railway
We are going to follow the official guide on hosting it on Railway
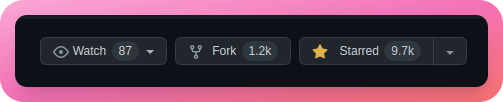
First of all, we must fork the repository. This will help us make changes to the source code to fit our own needs and more importantly, receive updates in the future (as we will see later in the tutorial). Head over to the Umami GitHub repository and click on fork on the top-right corner -
You may be asked to select your personal account or an organization if you are in any. I would recommend going for personal account unless it is for an organization.
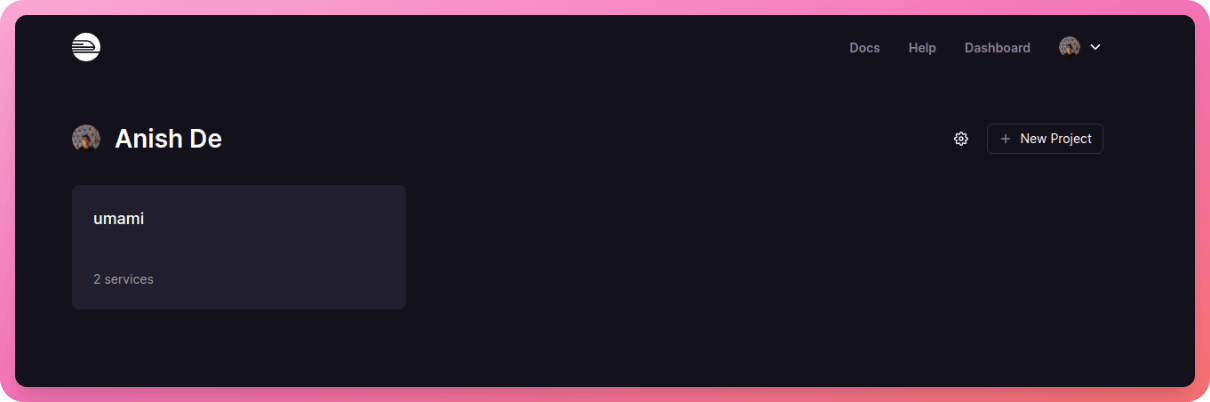
Once you have signed up for an account, click on "New Project" (note that I already have an existing project and hence the layout looks like this. It may be different for you) -
Now, select "Deploy from Repo" on the new project screen -
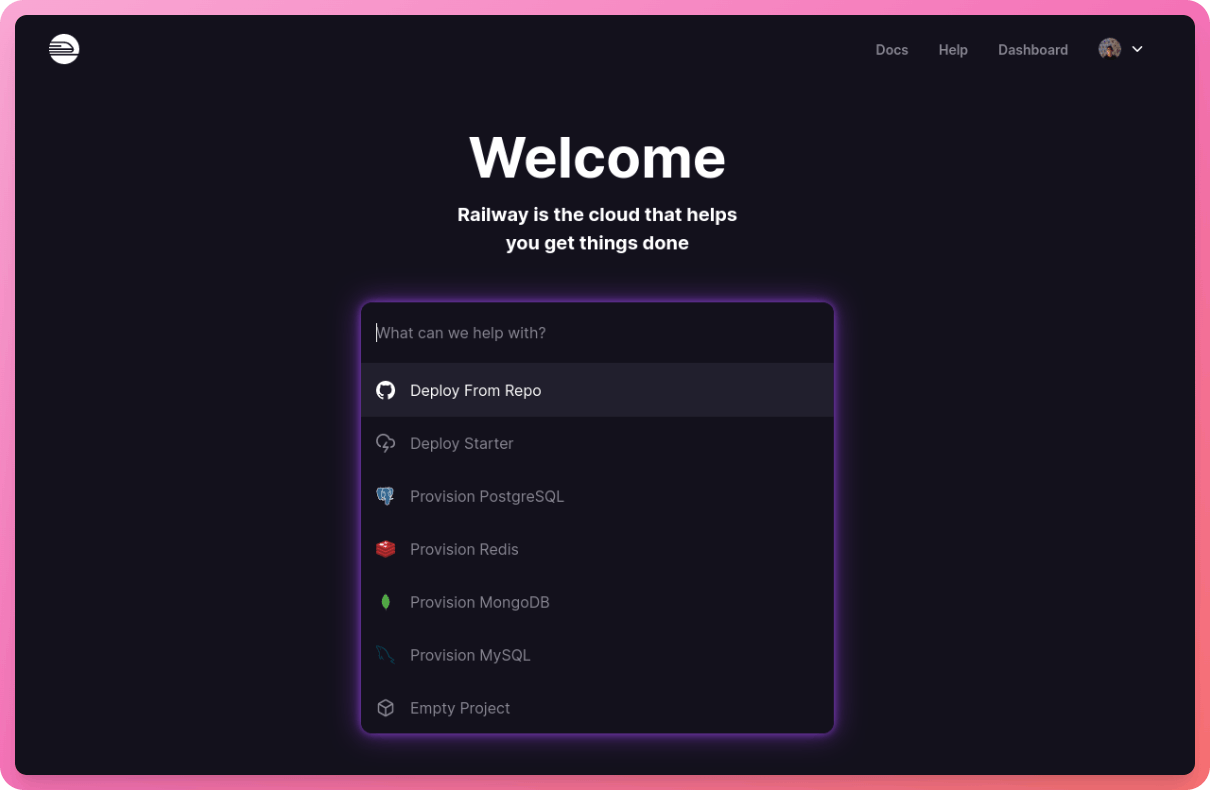
Do note that if you didn't sign up with GitHub, you will be prompted to connect your GitHub account.
Search and select Umami there.
Make sure that the master branch has been selected. Now click on deploy -
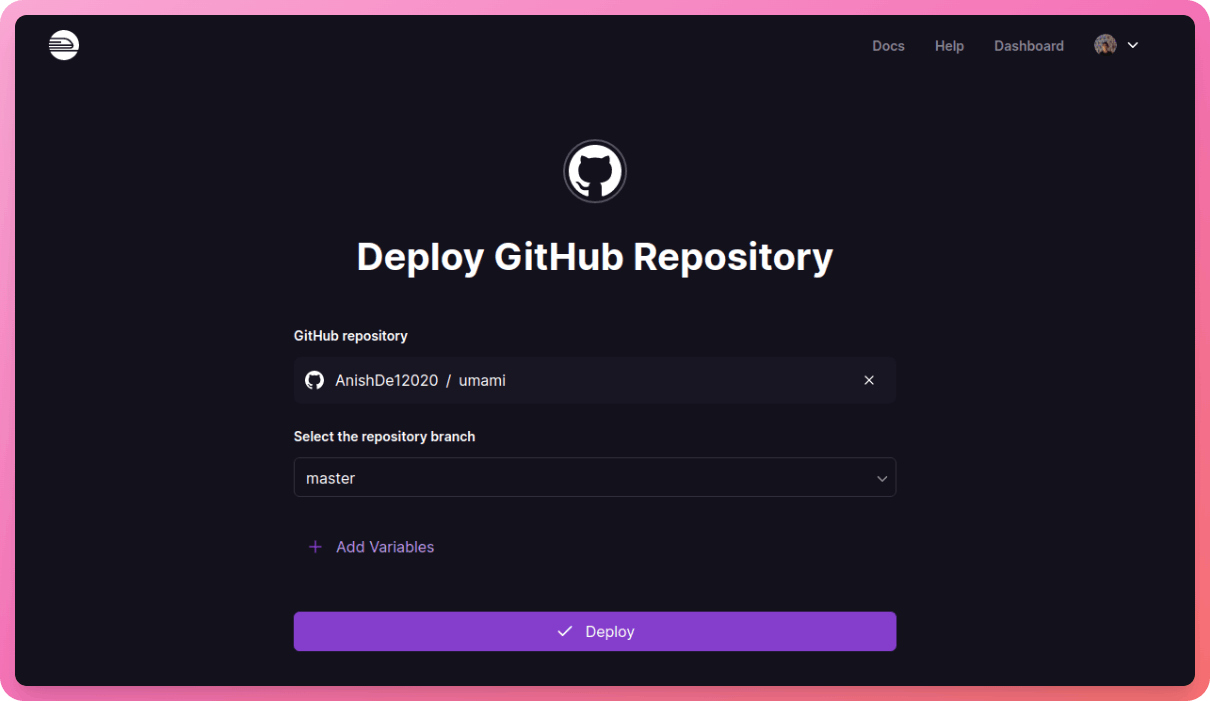
This might take some time (2-5 minutes).
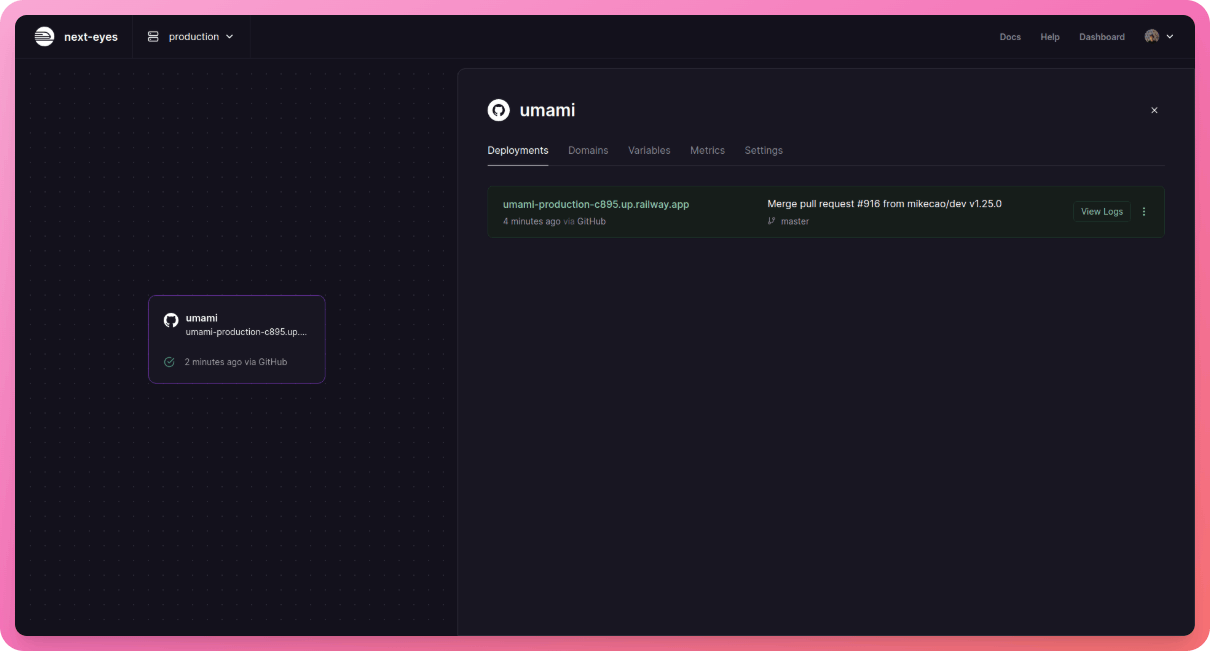
This is how it should look like after deploying (do note that I am currently using the Metro UI and the layout might look a little different) -
Now, we need to add a database. We are going to be using PostgreSQL for this example. Now, Railway has built-in support for databases and hence we can spin up a PostgreSQL instance within Railway itself for free.
Click on this "New" button -

Select "Databases" and then select "PostgreSQL" -
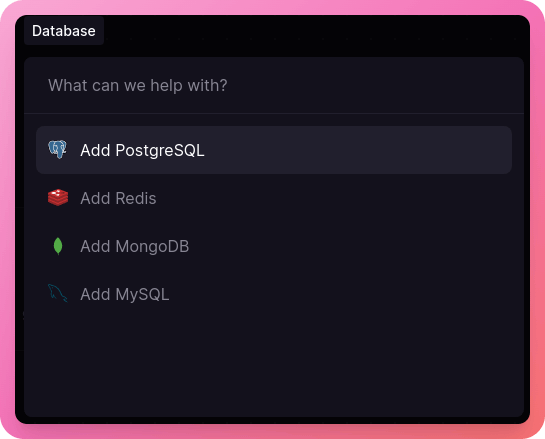
This might take some time as well.
Do note that if you are using the old UI, you have to select the "Add Plugin" button.
Now, we need to add two environment variables, PORT and HASH_SALT. Click on the card that says "umami" and go to the "Variables" tab -
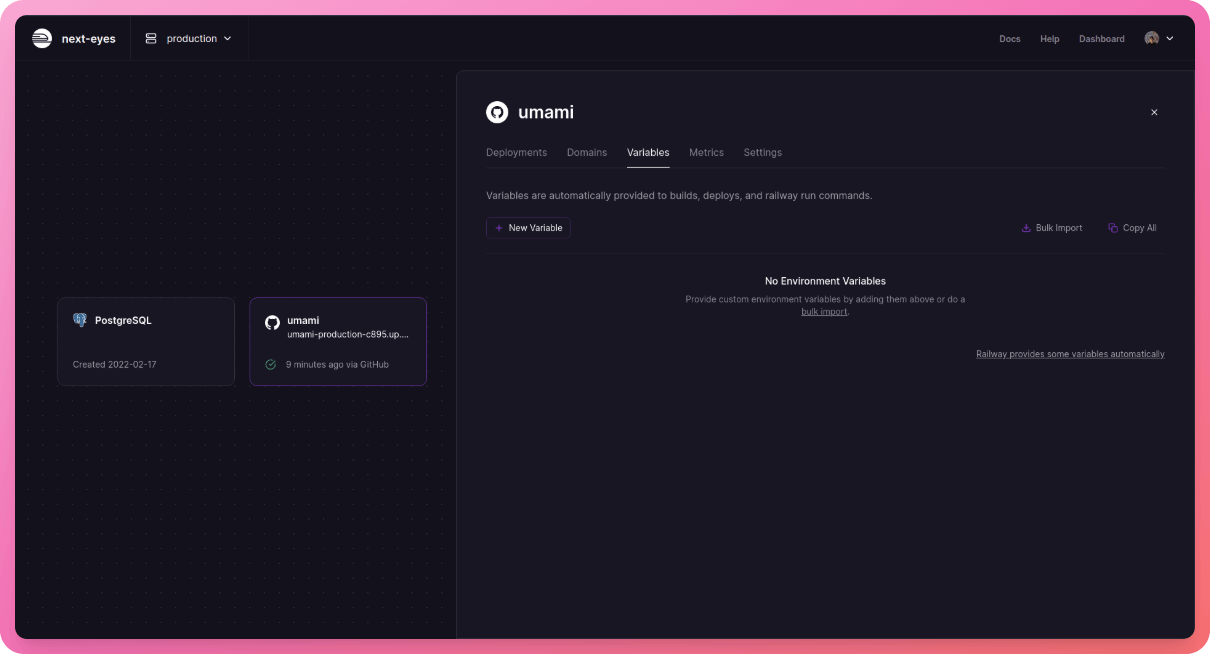
In the old UI, there will be a button called "Variables" in the sidebar. Click that and then add the following variables under "custom".
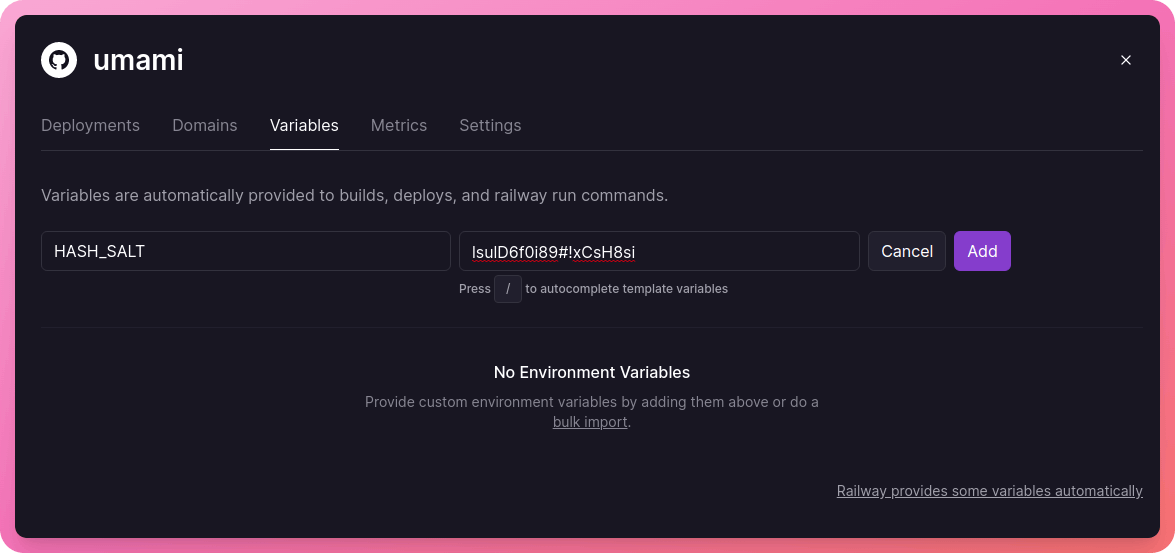
We need to put a random string for the HASH_SALT environment variable. Use any random string generator like this one. Let us go with 20 characters including uppercase and lowercase letters, numbers, and symbols -
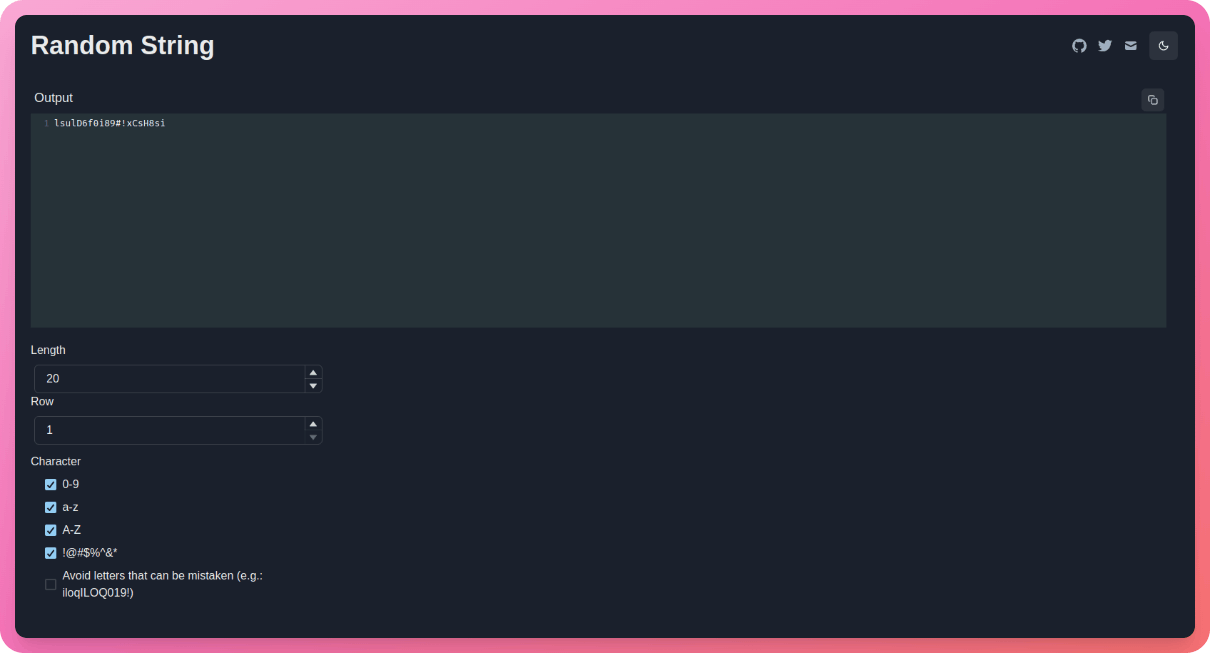
Now paste that into Railway and click "Add" -
Also, add an environment variable called PORT and set it to 3000 -
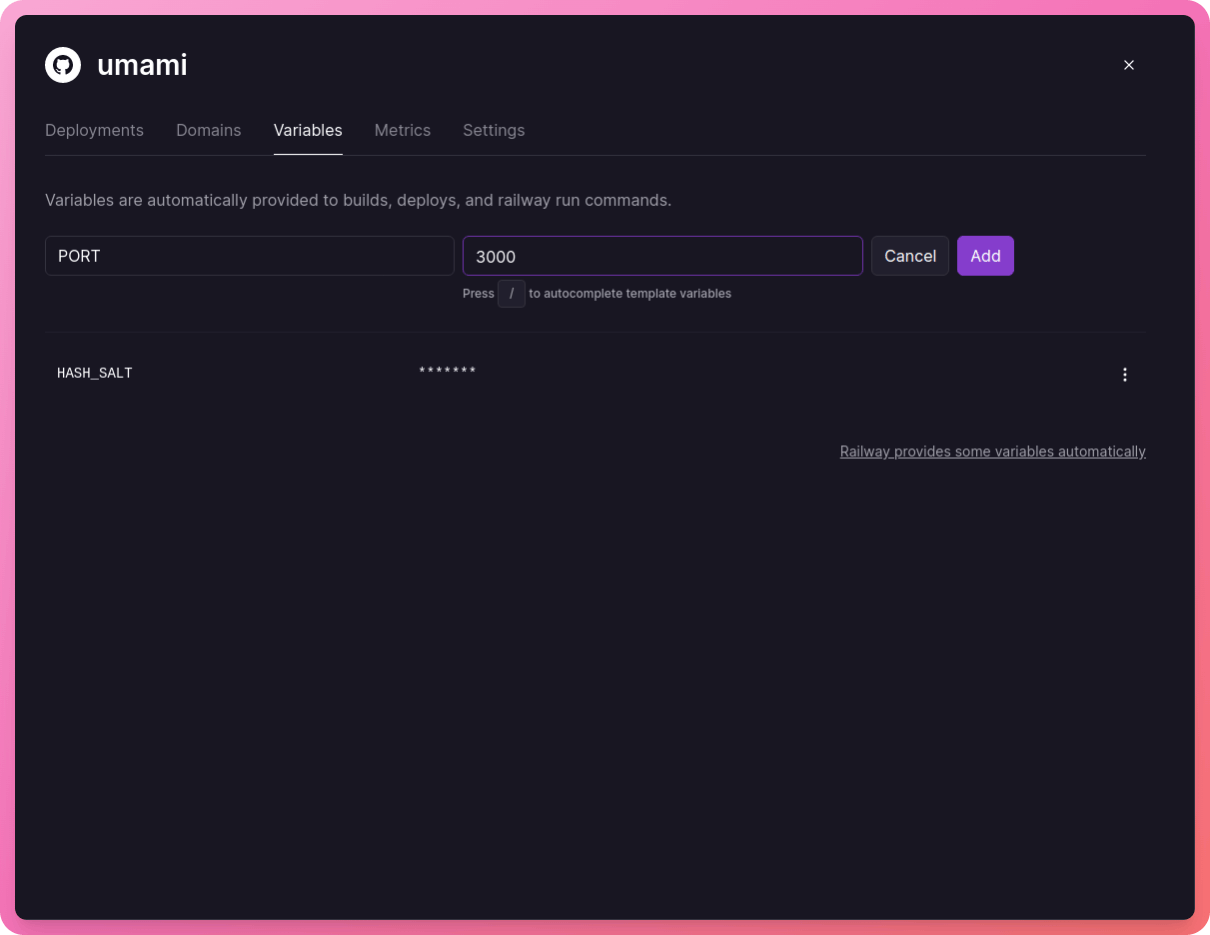
Note that Railway will redeploy our application every time we add an environment variable.
Setting up our database schema
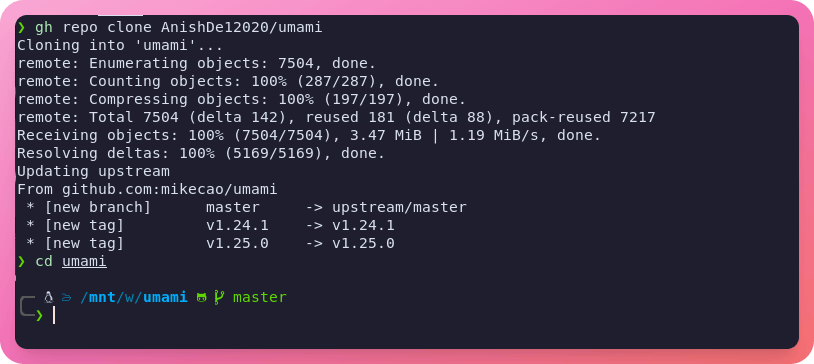
Now, we need to make tables in our database. For this, we need to locally clone the project. Go ahead and clone it with git and open a terminal in that repository (I am using the GitHub CLI to clone here but you can use git as well) -
Now, we need to install the Railway CLI. You can install it with NPM with the following command -
npm i -g @railway/cli
You can also install it with Homebrew with the following command -
brew install railwayapp/railway/railway
Now run the following command to authenticate the CLI with your Railway account -
railway login
Note that if you face any issues while doing this, you can also try logging in with the following command -
railway login --browserless
Now run the following command to link the local directory with your Railway project -
railway link
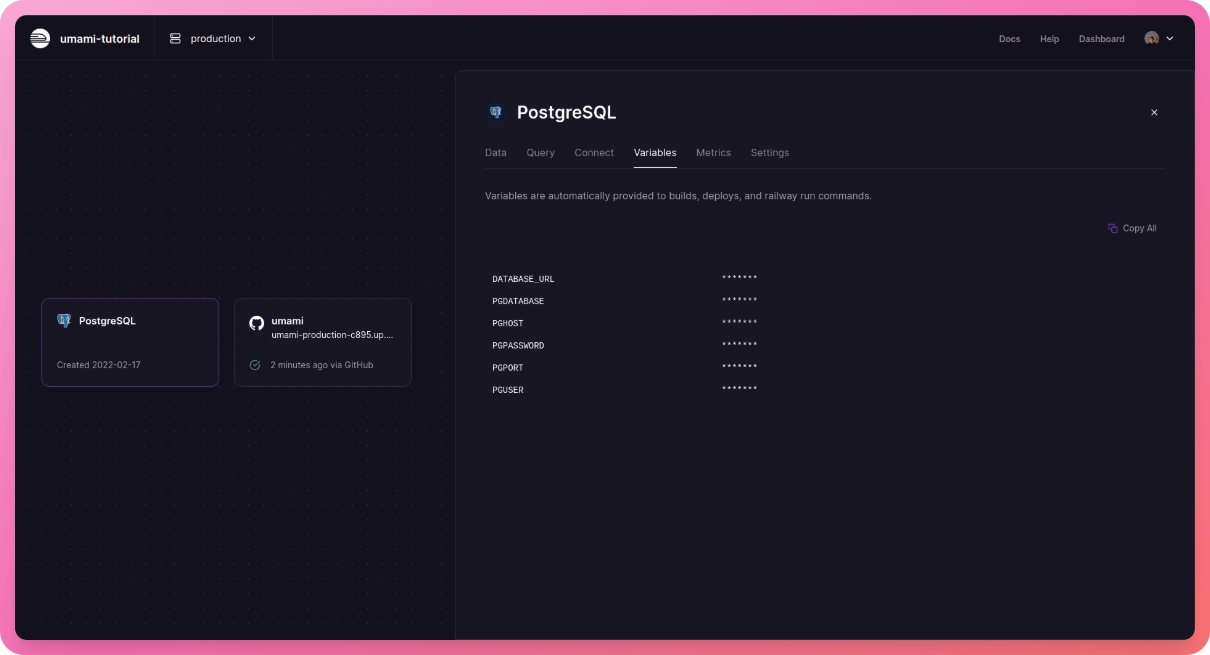
Now head over to Railway and click the PostgreSQL card and go to the "Variables" tab -
Now run the following command in the terminal -
railway run psql -h PGHOST -U PGUSER -d PGDATABASE -f sql/schema.postgresql.sql
Replace the values caps with their corresponding values from the Railway dashboard (from the environment variables tab for PostgreSQL from the previous step)
Now press enter to run the command.
Do note that you need the PostgreSQL CLI for this. If you don't have it, you can follow this guide to install it.
Now run the following command to deploy it -
railway up
Hooray, we have successfully deployed Umami 🥳
Using Umami
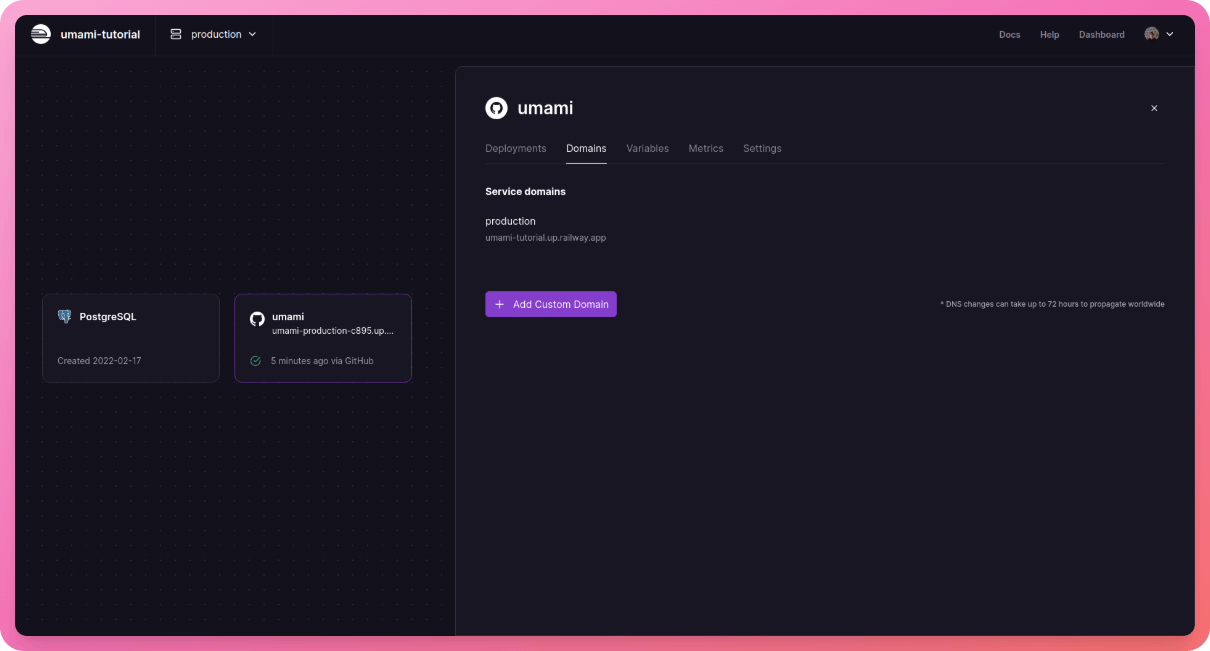
After deploying, you will get an URL to deployment logged on to your CLI. You can also retrieve this URL from the Railway web app.
You can also set up a custom subdomain (or even a custom domain) from the Umami dashboard -
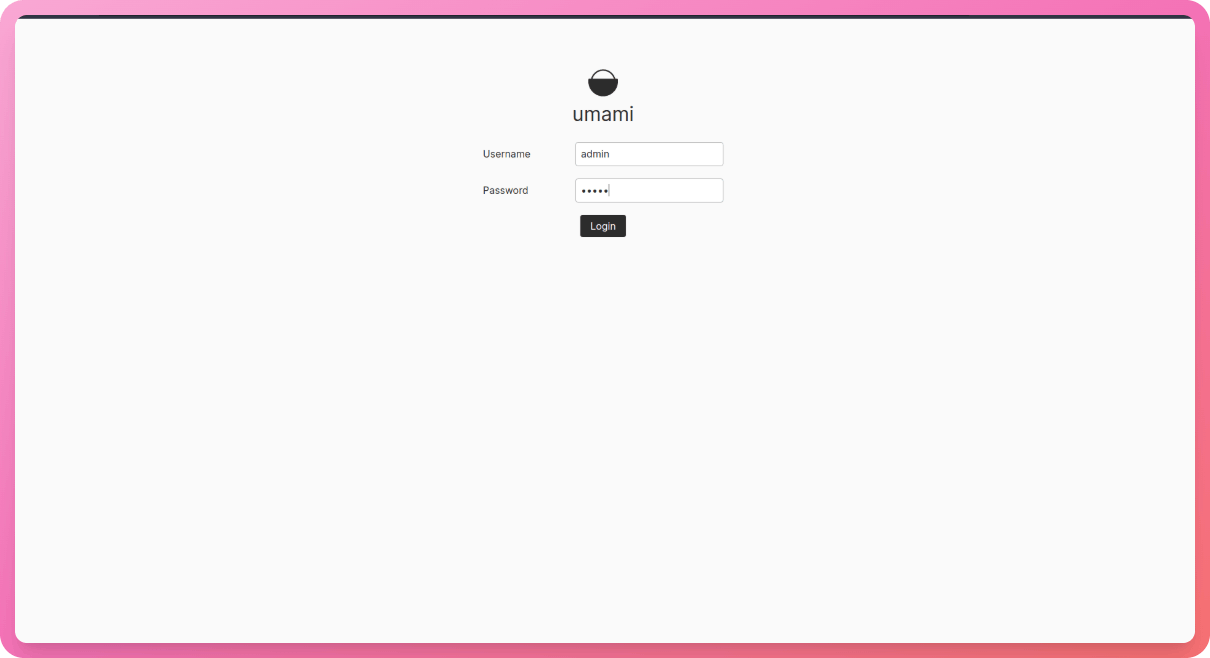
You will see a login screen now. The username is "admin" and the default password is "umami" (we will change this).
Our dashboard should look like this now -
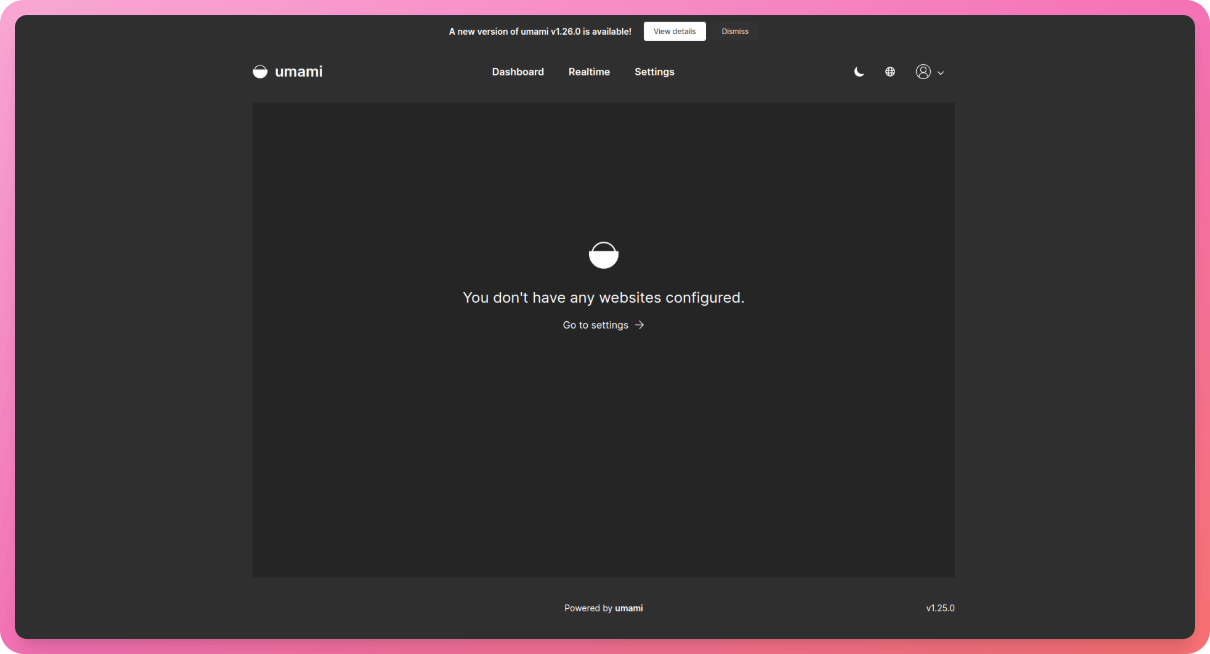
Now, there is a banner saying there is a new version out! While writing this tutorial, Mikecao, the creator of Umami, pushed a new version 😅
Now, that is a good thing because now I get to show you how to update Umami 😎
Before that, let us just quickly change our password as "umami" isn't a secure password.
Head over to Settings --> Profile and click on "Change Password"

Enter "umami" in the "Current Password" field and then set a new secure password and click "Save" -

Updating Umami
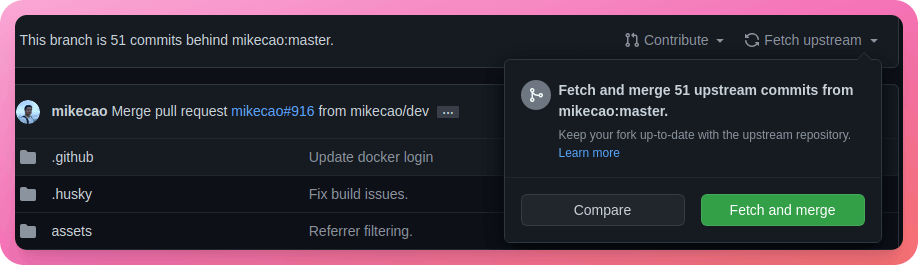
Head over to the forked Umami repository on GitHub. You should see that our branch is behind by a few commits -

Click on "Fetch Upstream" and then "Fetch and merge" -
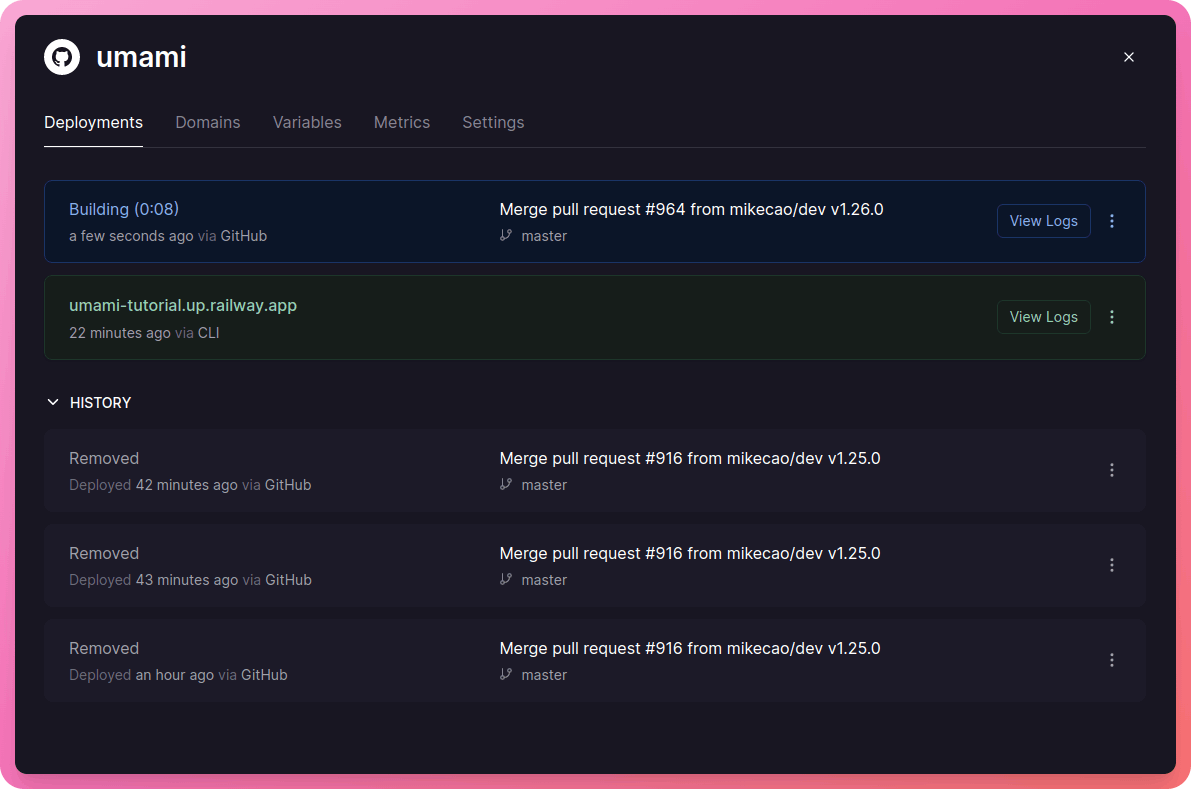
That is it! A new deployment will be initiated on Railway and in a few minutes, you should be up and running the latest version -
Adding Umami to a NextJS website
Now, let us look at adding Umami to a NextJS website. For this let us first create a new NextJS application (note that it will work with existing NextJS applications as well) -
npx create-next-app umami-tutorial
Let us now move into that directory -
cd umami-tutorial
Now, open it in your favorite text editor. We will be using VSCode for this tutorial -
code .
Now, open the pages/_app.js file. It should look like this -
import '../styles/globals.css'

function MyApp({ Component, pageProps }) {
  return <Component {...pageProps} />
}

export default MyApp
Now, let us add the script tag for Umami. This is how our _app.js should look like now -
import Script from "next/script";
import "../styles/globals.css";

function MyApp({ Component, pageProps }) {
  return (
    <>
      {process.env.NEXT_PUBLIC_UMAMI_SCRIPT_URL &&
        process.env.NEXT_PUBLIC_UMAMI_WEBSITE_ID && (
          <Script
            src={process.env.NEXT_PUBLIC_UMAMI_SCRIPT_URL}
            data-website-id={process.env.NEXT_PUBLIC_UMAMI_WEBSITE_ID}
            strategy="lazyOnload"
          />
        )}
      <Component {...pageProps} />
    </>
  );
}

export default MyApp;
Here, we are using the NextJS Script component and lazy loading the script so that it doesn't block our website from loading.
We will also need to add the environment variables but before that, we need to add the website to Umami.
Head over to Umami and then to Settings --> Websites -

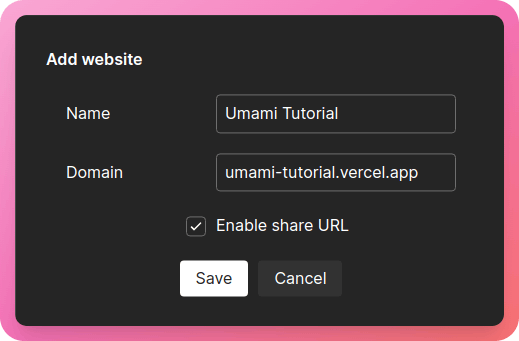
Now, click on "Add website"
I am naming this "Umami Tutorial" but you can name it whatever you want to. In the next field, make sure to enter the domain and NOT THE URL to the website. Note that I have quickly created a GitHub repository and deployed this NextJS app to Vercel. I have also checked "Enable Share URL" so that I can share the analytics for this website with you guys 😁
Here it is - https://umami-tutorial.up.railway.app/share/3lOPyajp/Umami%20Tutorial
Now, click on "Save" and then "Get tracking code" -

From the modal that appears, just copy the values of data-website-id and src -
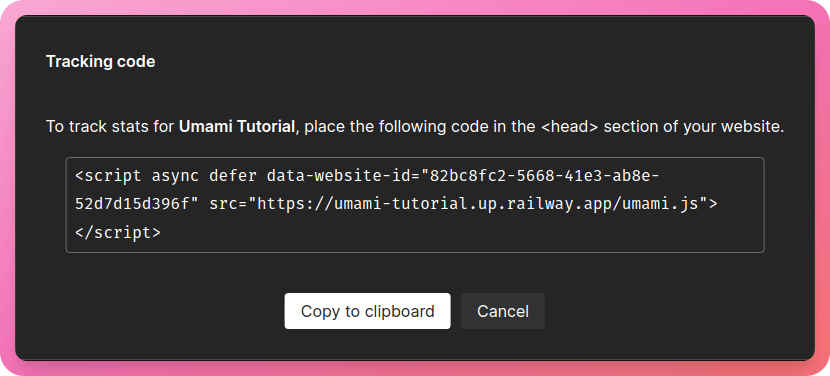
Now, create a new file in your NextJS app called .env.local and add the following environment variables -
NEXT_PUBLIC_UMAMI_SCRIPT_URL= # Your script URL, the value under `src`
NEXT_PUBLIC_UMAMI_WEBSITE_ID= # The website's id, the value under `data-website-id`
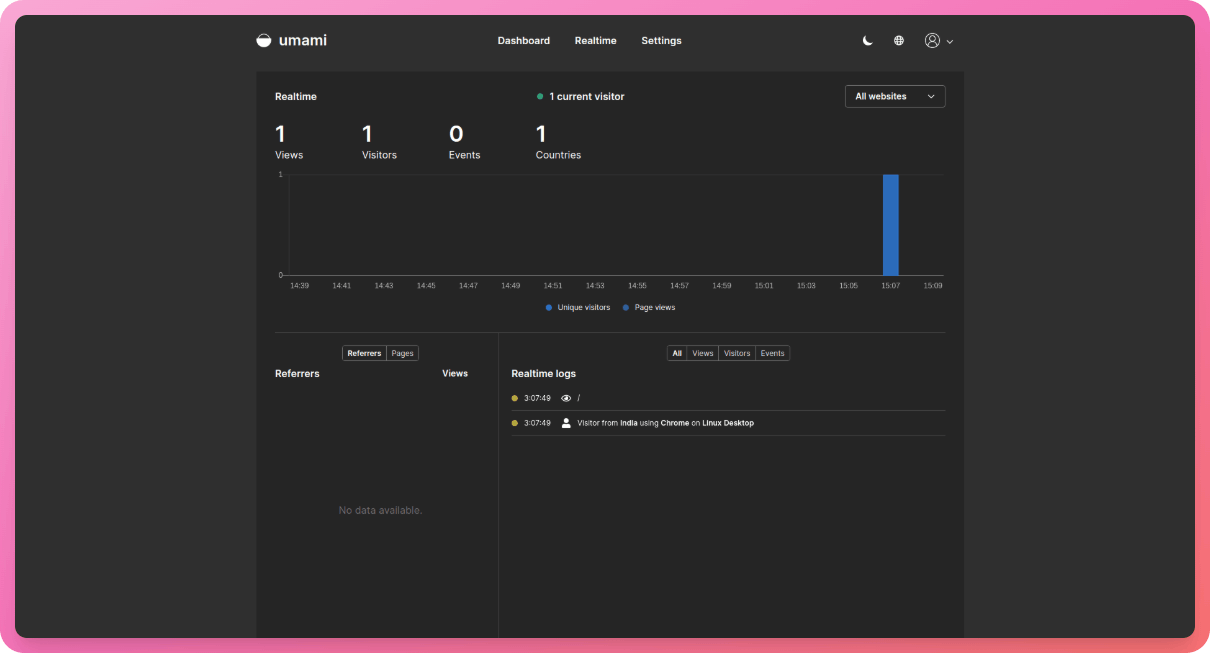
Now, visit the website on your browser and take a look at the Umami dashboard, it should record a view and a visit under the "Realtime" tab -
We can see more detailed analytics under the details page of the website -
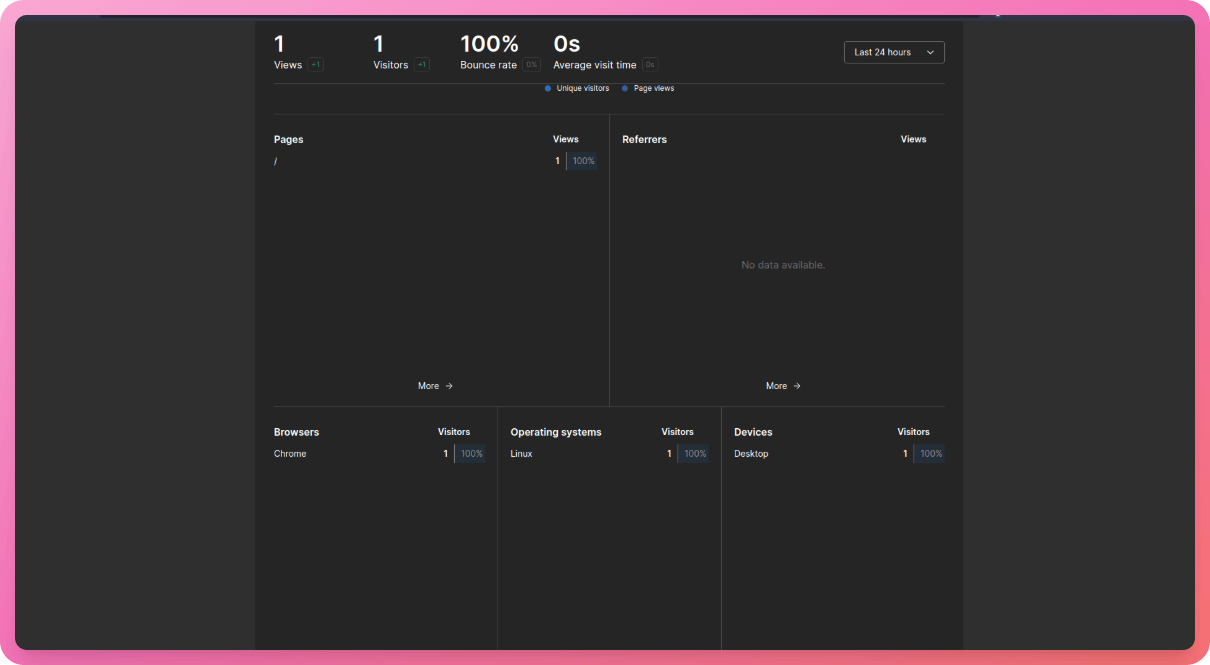
More data will pile up as you start getting visitors on your site
Note: Some browsers like brave have in-built ad-blockers which blocks such scripts from loading in many cases. Even third-party ad-blockers can be responsible for this. If no data is showing up in your Umami dashboard, try a browser without ad-blockers (or private mode), try restarting your development server, and make sure that the values of the environment variables are right.
Woohoo, that was a lot!
Conclusion
We got Umami set up and running and added analytics to a NextJS application. Umami does a lot more like recording events. Take a look at their documentation for more information
I hope everything worked out for you. Do feel free to comment on this article or reach out to me on Twitter and I will help you out 😄