Amazing preview images with Next.js and LQIP Modern

Images take a long time to load and can have a disruptive impact on UX. Today we are going to be looking at creating preview images with a library called lqip-modern.
What is LQIP?
LQIP simply stands for Low Quality Image Placeholders. They have extremely small file sizes and act as placeholders for the actual image while the actual image is still loading. These extremely small file sizes are obtained by blurring the image, resizing it to a smaller size, or reducing the quality in the case of JPEGs.
Compatibility
WebP is supported by all modern browsers. Also, WebP support is present in Safari on macOS only if one is using macOS 11 (Big Sur) or later. source
If 100% compatibility is the goal, we can use JPEG LQIPs as well (they are almost 2-3 times the size of a WebP image).
Let us now look at how we can use lqip-modern with Next.js
Using LQIP Modern with Next.js
Next.js has an in-built next/image component which can provide preview images for local files without the use of an external library, but it cannot for remote images.
Now, there is also a limitation with our approach here, that is, preview images are created at build time. This means, that if the external image changes, then the preview image will not change.
However, this method will be especially useful if you are fetching the image from a CMS. If the image is ever updated, a build can be triggered which will create a new preview image. A better approach would be to use on-demand Incremental Static Regeneration or regular incremental static regeneration, however, that is out of the scope of this article. You can read my blog post on implementing on-demand incremental static regeneration with Directus to learn more.
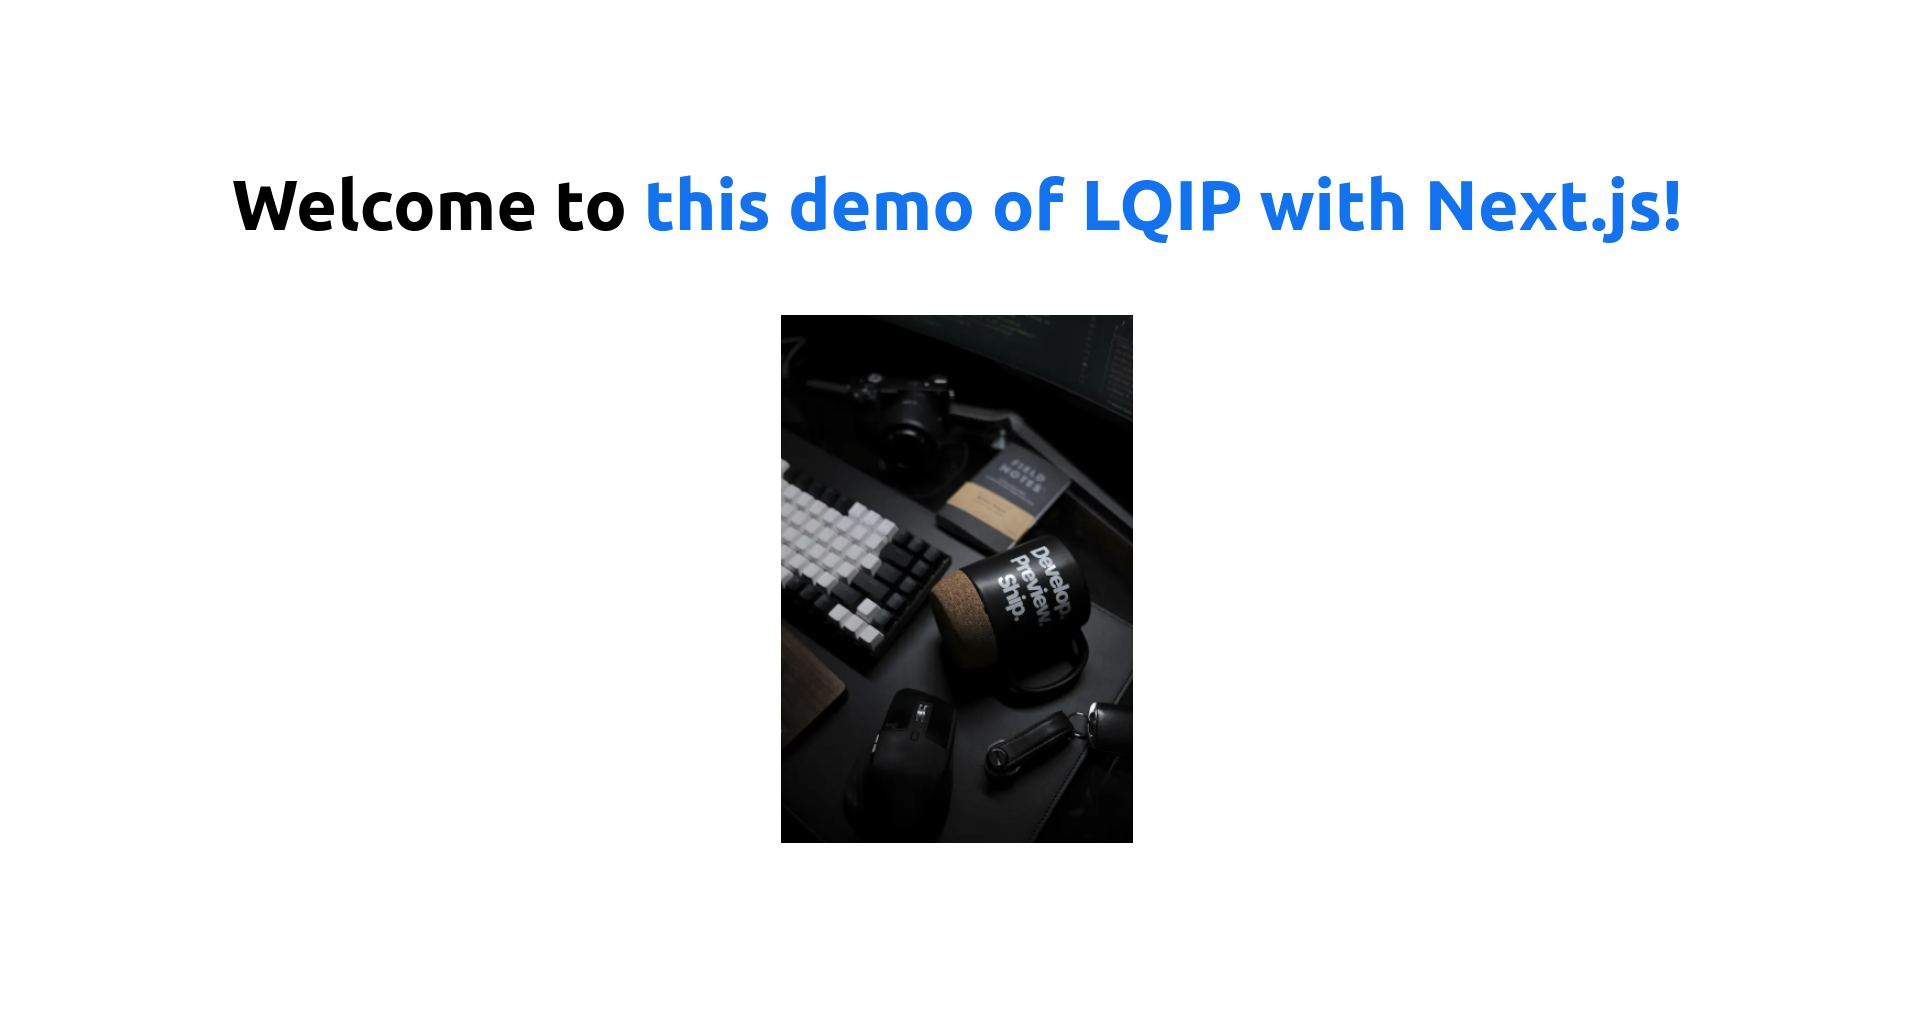
In this example, we are going to look at creating preview images for an image from Unsplash. I am going to be using this awesome image of a Vercel mug along with some computer peripherals for this tutorial. However, you can choose any picture you like.
Firstly, let us create a new Next.js application -
npx create-next-app next-lqip-demo
# OR
yarn create next-app next-lqip-demo
After it has been created, open up the project in your favorite code editor.
Now, open up the pages/index.js file and replace it with the following code -
import Head from "next/head";
import Image from "next/image";
import styles from "../styles/Home.module.css";

export default function Home() {
  return (
    <div className={styles.container}>
      <Head>
        <title>LQIP demo with Next.js</title>
        <meta name="description" content="Generated by create next app" />
        <link rel="icon" href="/favicon.ico" />
      </Head>

      <main className={styles.main}>
        <h1 className={styles.title}>
          Welcome to{" "}
          <a href="https://nextjs.org">this demo of LQIP with Next.js!</a>
        </h1>

        <div style={{ marginTop: "4rem" }}>
          <Image
            src="https://images.unsplash.com/photo-1642083139428-9ee5fa423c46"
            alt="Vercel mug with computer peripherals"
            height={480}
            width={320}
          />
        </div>
      </main>
    </div>
  );
}
Also, replace the code inside next.config.js with the following -
/** @type {import('next').NextConfig} */
const nextConfig = {
  reactStrictMode: true,
  images: {
    domains: ["images.unsplash.com"],
  },
};

module.exports = nextConfig;
We are using the next/image component to show our image from Unsplash. As the image is from a remote URL, we have to also add the domain in next.config.js.
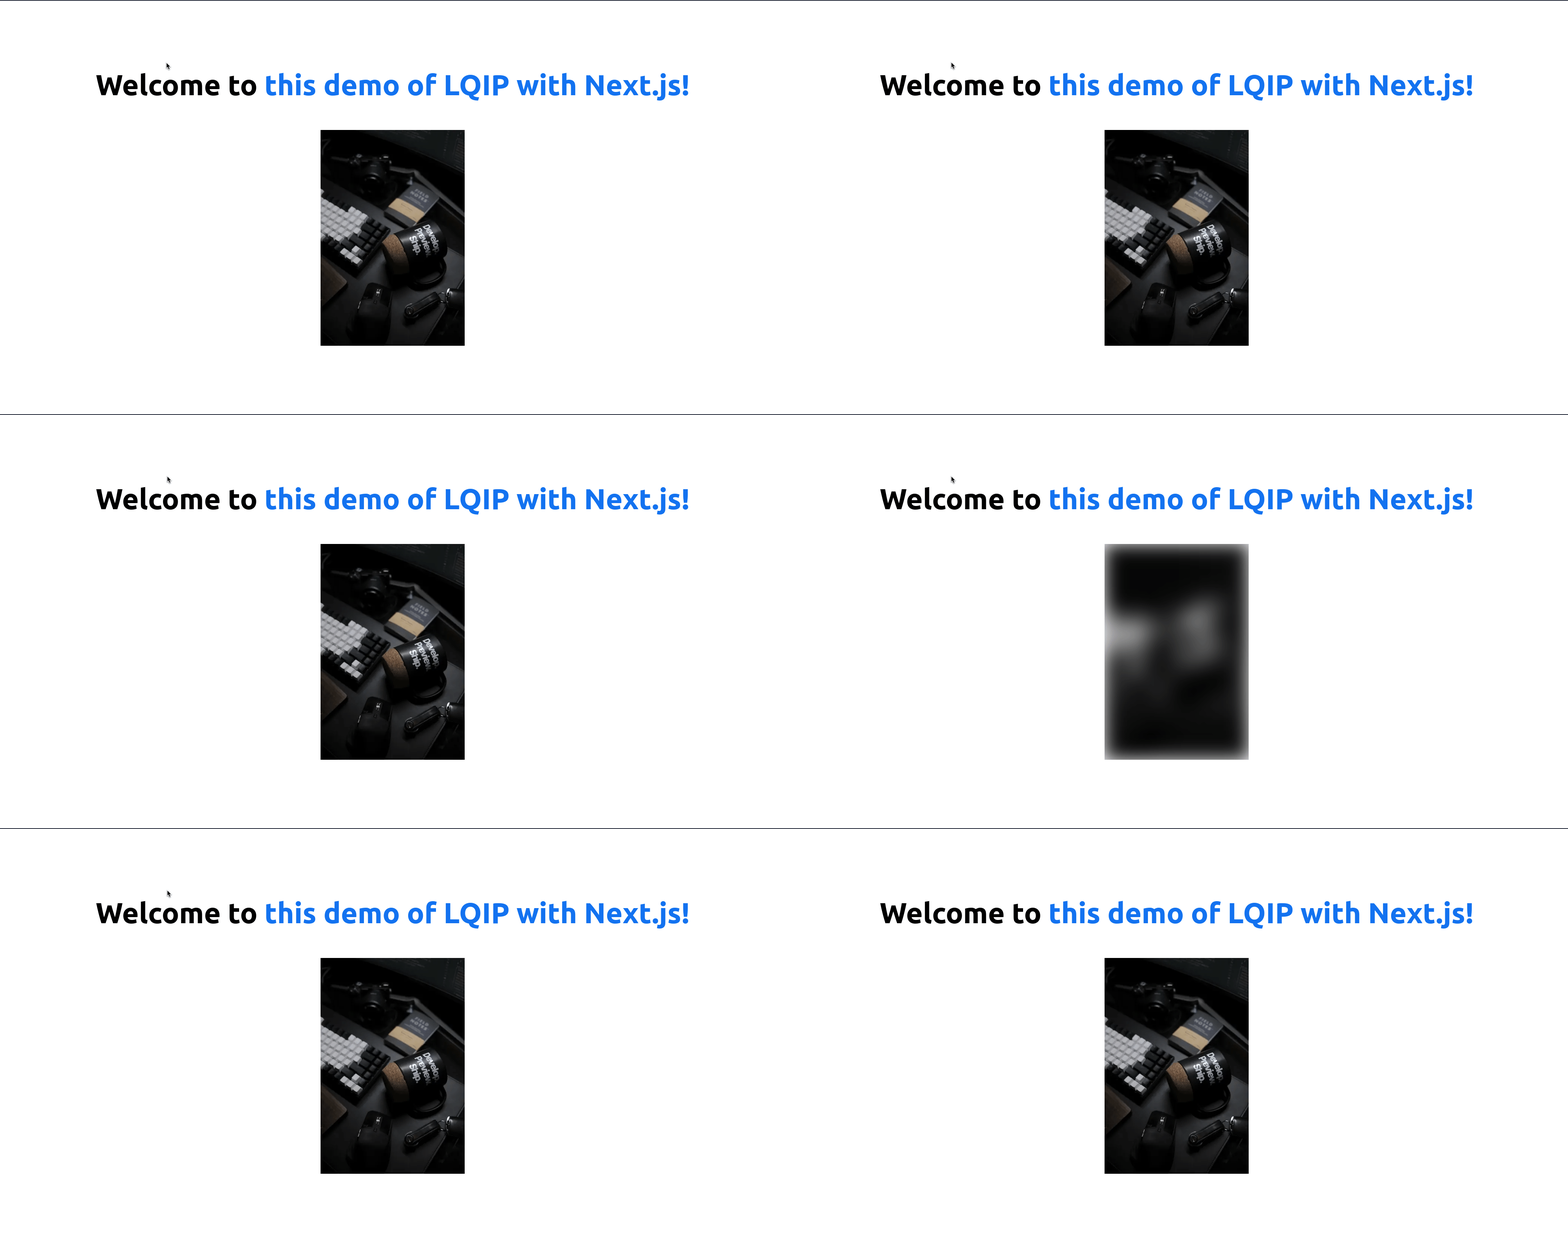
Now run npm run dev or yarn dev to start a development server and then visit localhost:3000. You will be able to see the page heading with the image -
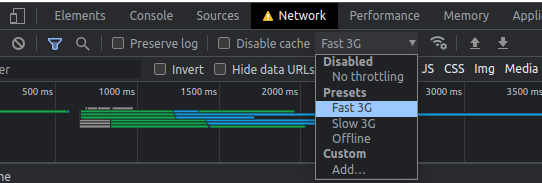
When you first visited the page, you would have noticed the image took a split of a second to load. Depending on your internet connection, it can be fast or slow. If you have a fast internet connection, open up developer tools and go to the network tab. Here you can throttle your internet connection to simulate a slow loading time -
Using LQIP to optimize our remote image
Firstly, let us install lqip-modern, and sharp. Sharp is an awesome package that helps with image transformations and is used by lqip-modern -
npm install --save lqip-modern sharp
# OR
yarn add lqip-modern sharp
Now, replace the code in pages/index.js with the following -
import lqipModern from "lqip-modern";
import Head from "next/head";
import Image from "next/image";
import styles from "../styles/Home.module.css";

export default function Home({ imageUrl, previewImageUrl }) {
  return (
    <div className={styles.container}>
      <Head>
        <title>LQIP demo with Next.js</title>
        <meta name="description" content="Generated by create next app" />
        <link rel="icon" href="/favicon.ico" />
      </Head>

      <main className={styles.main}>
        <h1 className={styles.title}>
          Welcome to{" "}
          <a href="https://nextjs.org">this demo of LQIP with Next.js!</a>
        </h1>

        <div style={{ marginTop: "4rem" }}>
          <Image
            src={imageUrl}
            alt="Vercel mug with computer peripherals"
            height={480}
            width={320}
            placeholder="blur"
            blurDataURL={previewImageUrl}
          />
        </div>
      </main>
    </div>
  );
}

export const getStaticProps = async () => {
  const unsplashImageUrl =
    "https://images.unsplash.com/photo-1642083139428-9ee5fa423c46";
  const image = await fetch(unsplashImageUrl);
  const imageBuffer = Buffer.from(await image.arrayBuffer());
  const previewImage = await lqipModern(imageBuffer);

  return {
    props: {
      imageUrl: unsplashImageUrl,
      previewImageUrl: previewImage.metadata.dataURIBase64,
    },
  };
};
In getStaticProps, we first fetch the image and convert it to a Buffer. We then give lqip-modern our buffer and it returns us an object called previewImage which contains a buffer and some metadata. Inside the metadata, there is a field called dataURIBase64 which is a base64 URL for our preview image. We pass this in via props to our client-side application.
On the client-side, we have added a new placeholder="blur" parameter to our Image component that will show a blur placeholder. As it is a remote image, we are required to pass in the blurDataURL parameter. We pass in the base64 URL for our preview image we obtained from the metadata earlier, here.
Now if you reload the page, while the image is loading, you should see the preview image.
For those wondering, this is the image lqip-modern made us -
It is tiny at just 11x16 (the next/image component makes it fill the width and height of the original image) and is just 78 bytes!
Using JPEG instead of WebP
If you want to support all browsers, you can add the outputFormat option when making the preview image to get a JPEG preview image, like this -
const previewImage = await lqipModern(imageBuffer, { outputFormat: "jpeg" });
The JPEG image is the same dimensions as our WebP image but significantly larger in size at 303 bytes -
Note that these file sizes will vary depending on what image you use. The difference in file size between JPEG and WebP can go under double in some cases.
Conclusion
Alright, that is it! Let us go over what we did in this tutorial -
- Learned about LQIP images
- Created a Next.js application and added an image from Unsplash
- Used
lqip-modernto create preview images - Looked at how we can obtain JPEG preview images
Hope you liked this tutorial! Do share it if you have found it useful :)