

Making a blog with Directus, MDX, and Next.js On-Demand ISR

Search for a command to run...
No comments yet. Be the first to comment.
If you have worked with the Solana Wallet Adapter before, you will know that it is very easy to set up a Connect Wallet button with a decent modal. However, customization is pretty limited. We can only add some custom CSS hence changing the styles bu...
And CandyPay QR Codes which people can scan to claim the NFT in under 15 seconds

As developers, most of us use the terminal to interact with our computers for many tasks as we find it more productive. We are familiar with commands like ls, cd, cat, grep, and find. These are primarily pre-installed on our computers and mostly get ...

Most of us use version control systems (mostly git) for our projects but the git CLI is unproductive. We often need to run multiple commands and got to type more characters. Well, what if I told you there are tools that can improve this significantl...
Authentication in Web3 is extremely easy but supporting all the wallets and making a nice UI can be painful and time-consuming. Thankfully, there are many libraries which makes this extremely easy as well. Today we are going to be looking at adding R...

There are many Headless CMSs out there and many other tools that let us make a blog easily and quickly. Today we look at building a blog with Directus and Next.js. We will use MDX to store our blog content in Directus. We are also going to use Next.js's on-demand incremental static regeneration feature which lets us add or update content on our website without triggering a re-build.
Demo -
Note that incremental static regeneration will be referred to as ISR from now on
Next.js supports ISR for a few years now but on-demand ISR makes it better. Before, we would specify a revalidate property with the number of seconds to cache the data. This had a few disadvantages -
On-demand ISR solves both the aforementioned problems with regular ISR. This is done by triggering a cache revalidation via webhooks. So whenever the content is updated on the server (or CMS), a webhook event can be fired which will create or update the required static pages
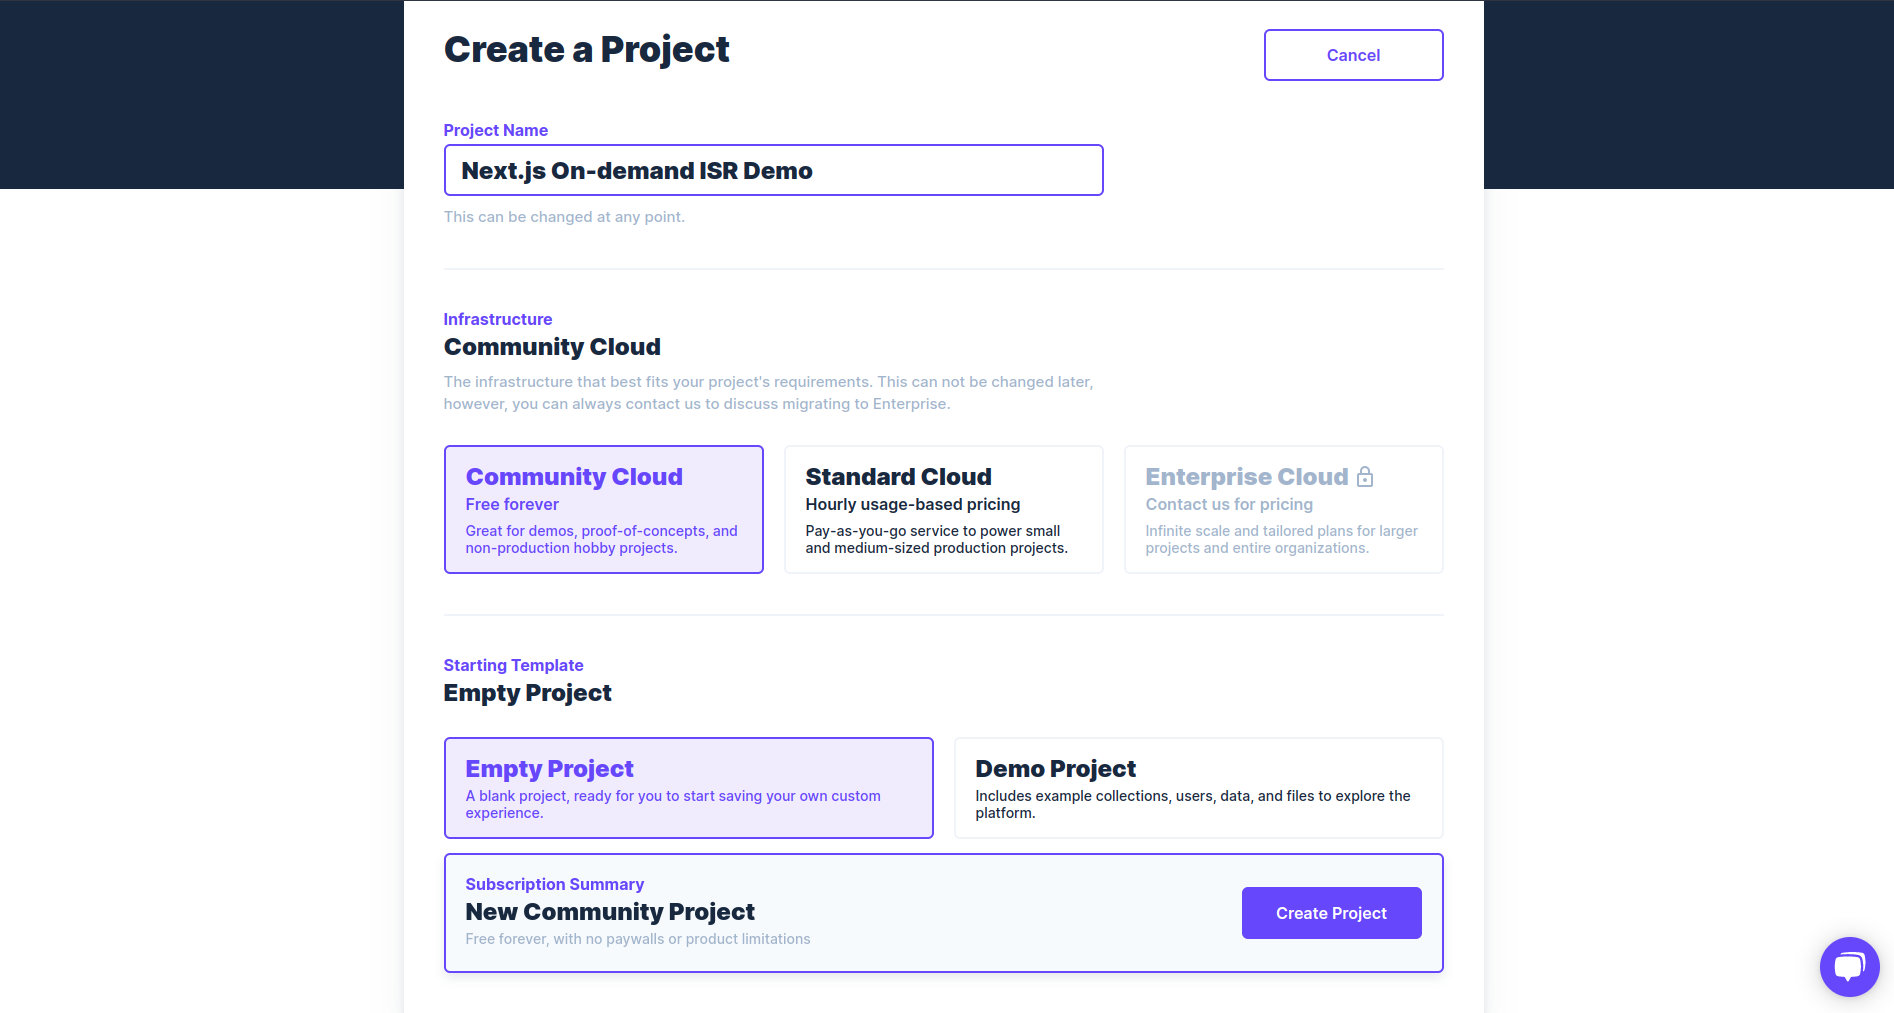
Although Directus can be self-hosted, it has a cloud offering with a decent free tier. Go ahead and sign up for an account if you haven't already. Click "Create Project" in the dashboard (you might be prompted to create one during the onboarding process) and give your project a name. Under "Infrastructure", select "Community Cloud" and under "Starting Template", select "Empty Project". Now click "Create Project" and within 2 minutes, it should be created.
After the project has been created, click on it on the dashboard and then click "Open Project". Here, on the login screen, enter the credentials that have been sent to the email address associated with your Directus account.
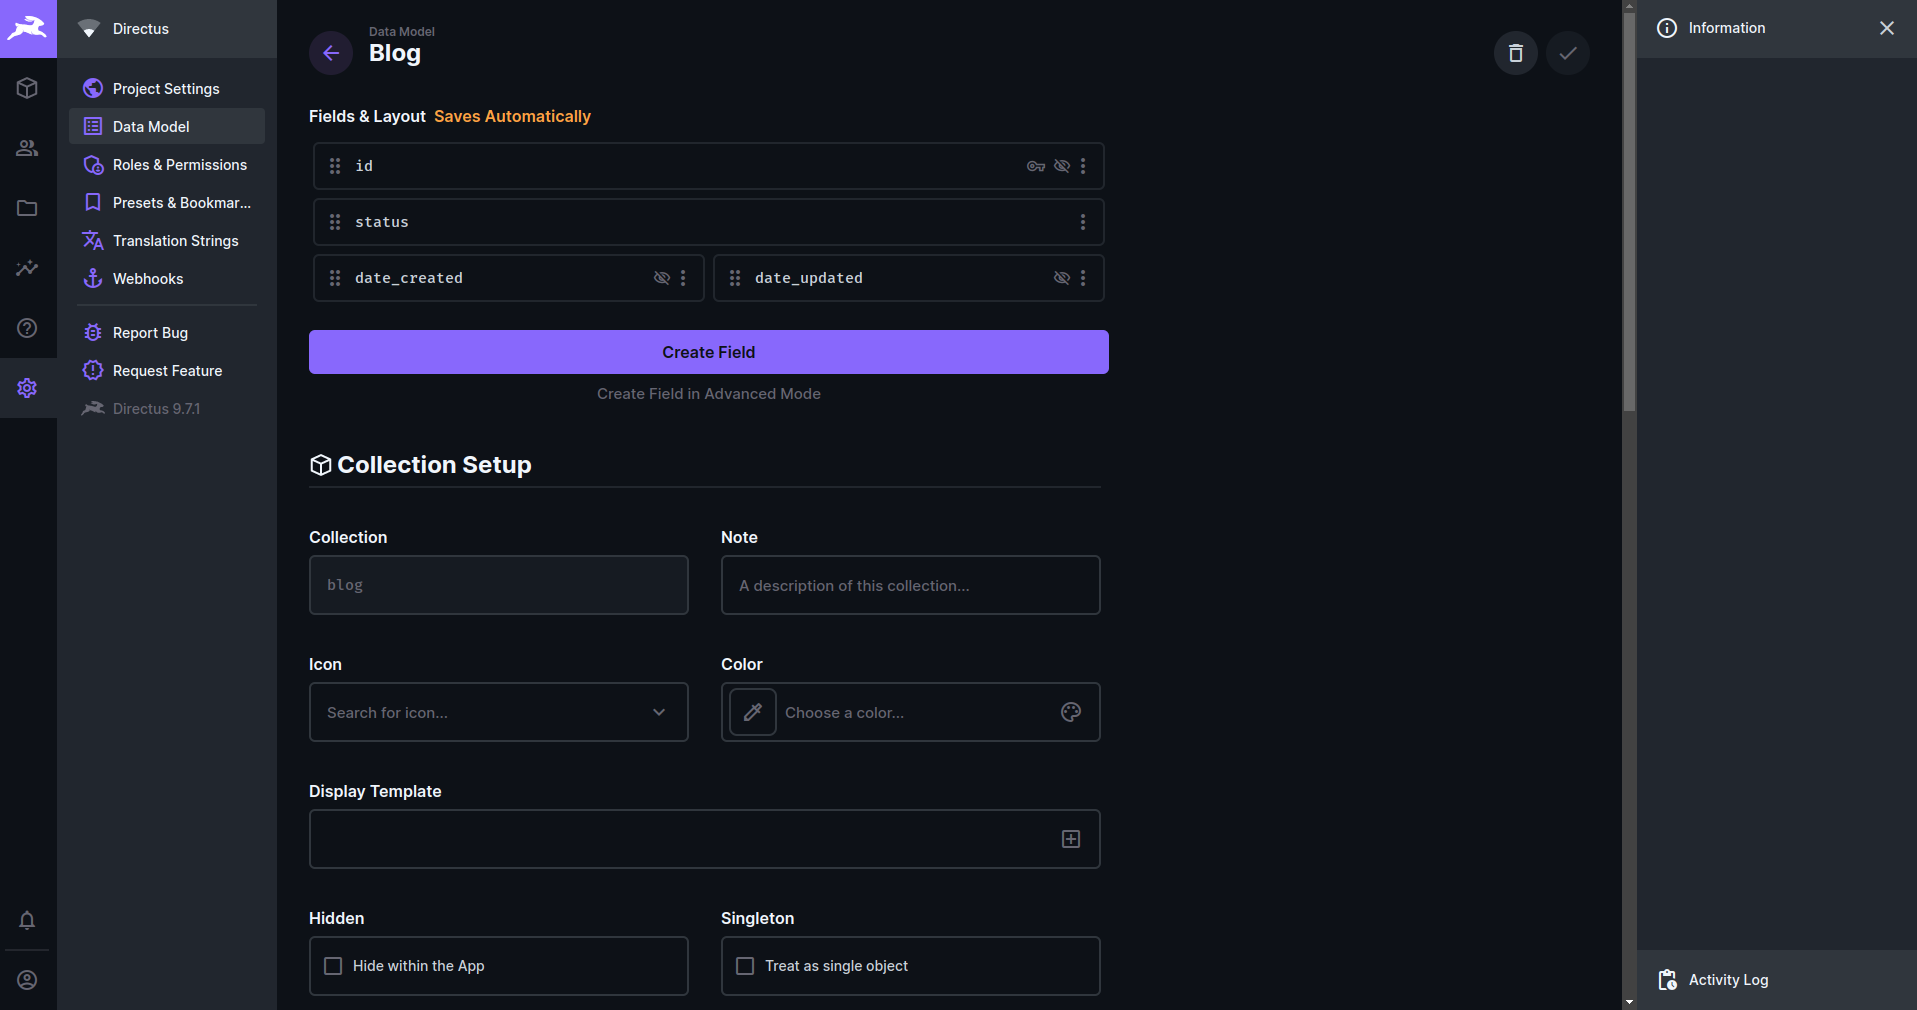
On, Directus, it should say that there are no collections. Let us create a collection called "Blog". Click on the arrow in the top-right corner and check "Status", "Created on" and "Updated On". We will add more fields later on. Now click on the checkmark and we should be able to see our collection's schema -
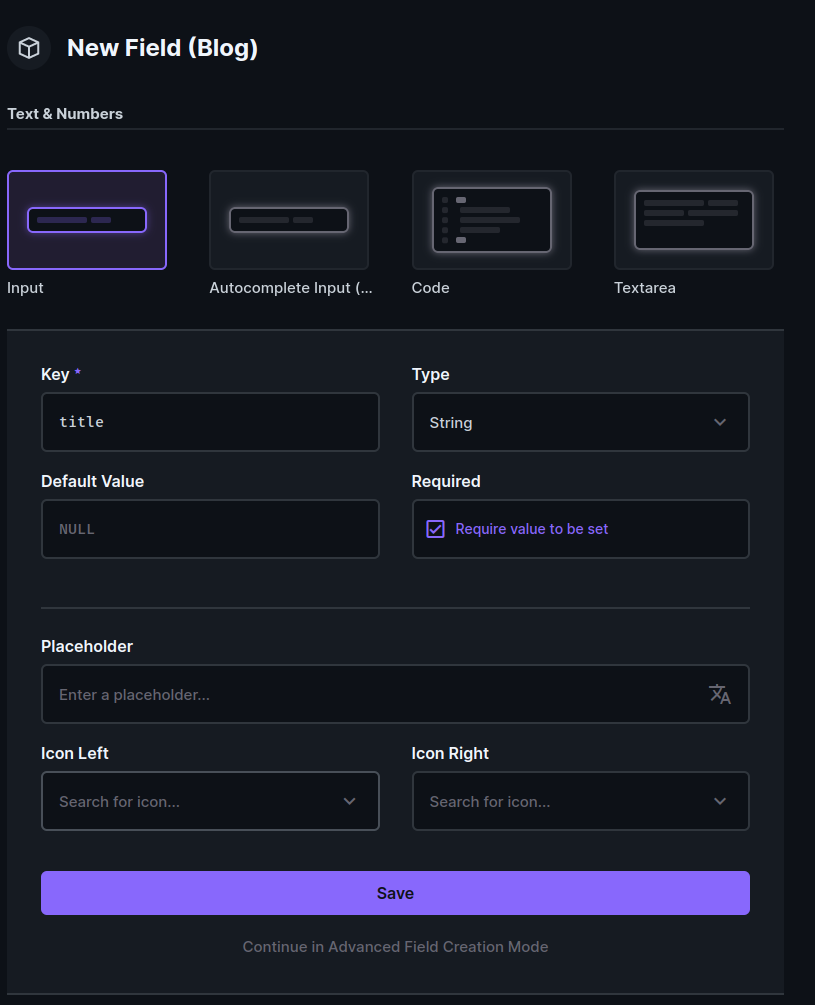
Let us add a few more fields. Create one called with the type "Input" and give it the key "title". Make it required and hit save.
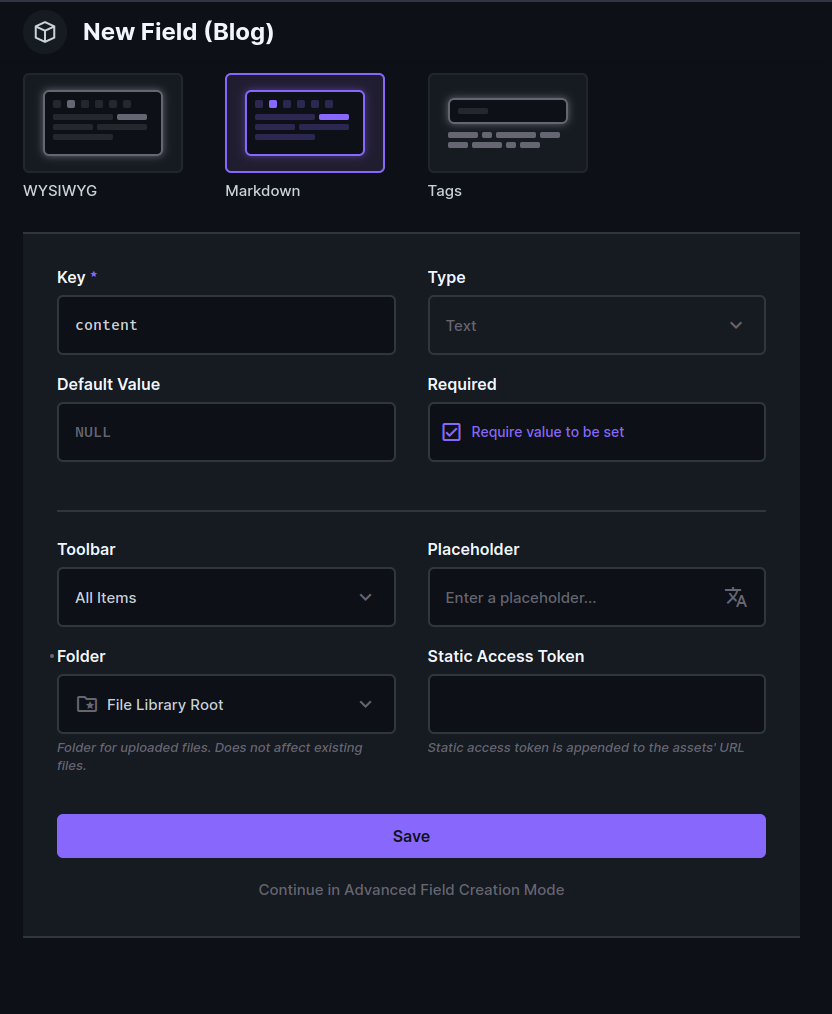
Add one more field with the type "Markdown" and give it the key "content". Make this required too and hit save.
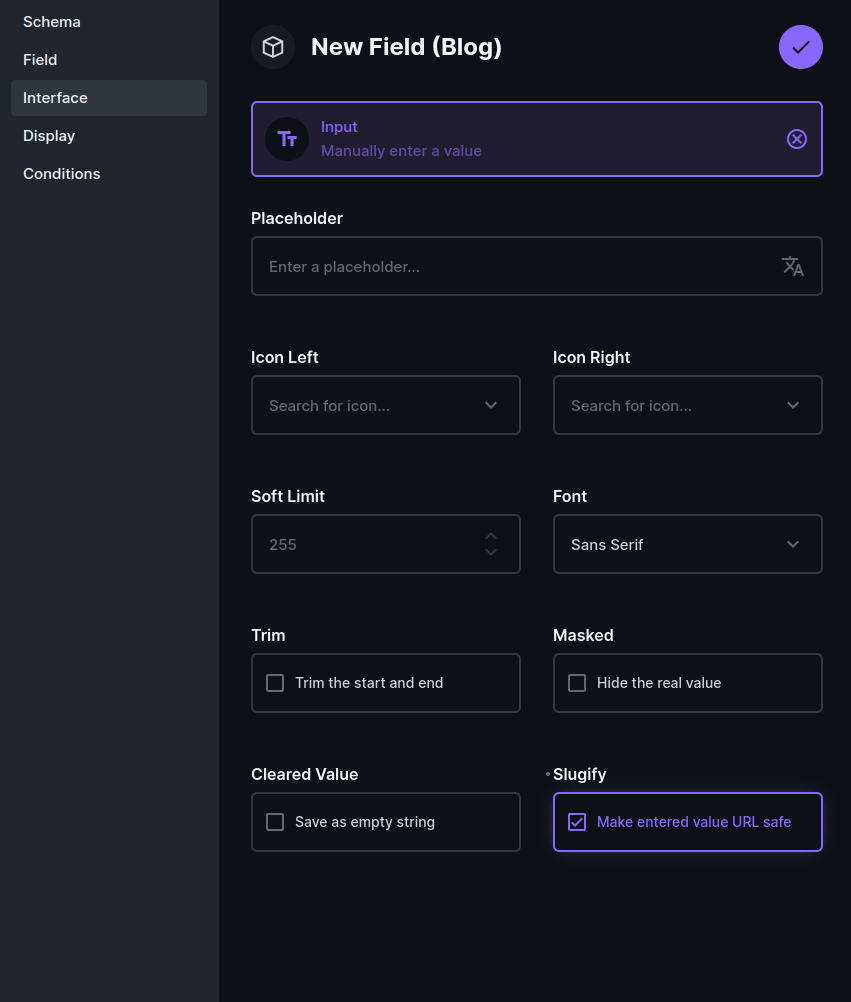
We need to also add a slug for our blog posts. Create a new field with the "Input" type with key "slug" and make it required. Now click "Continue in Advanced Field Creation Mode". Under "Interface" check the "Slugify" option and click the checkmark to create the field.
Adding content in Directus is extremely easy! Go to the content tab in the sidebar (the first one with a 3d box icon) and select the Blog collection. Now click "Create Item". Here add a title and some content and a slug. Also, make sure to change the status to "Published". We will later use this status to manage API access. Note that you can use markdown here. After you are done adding the content, click the checkmark to save it.
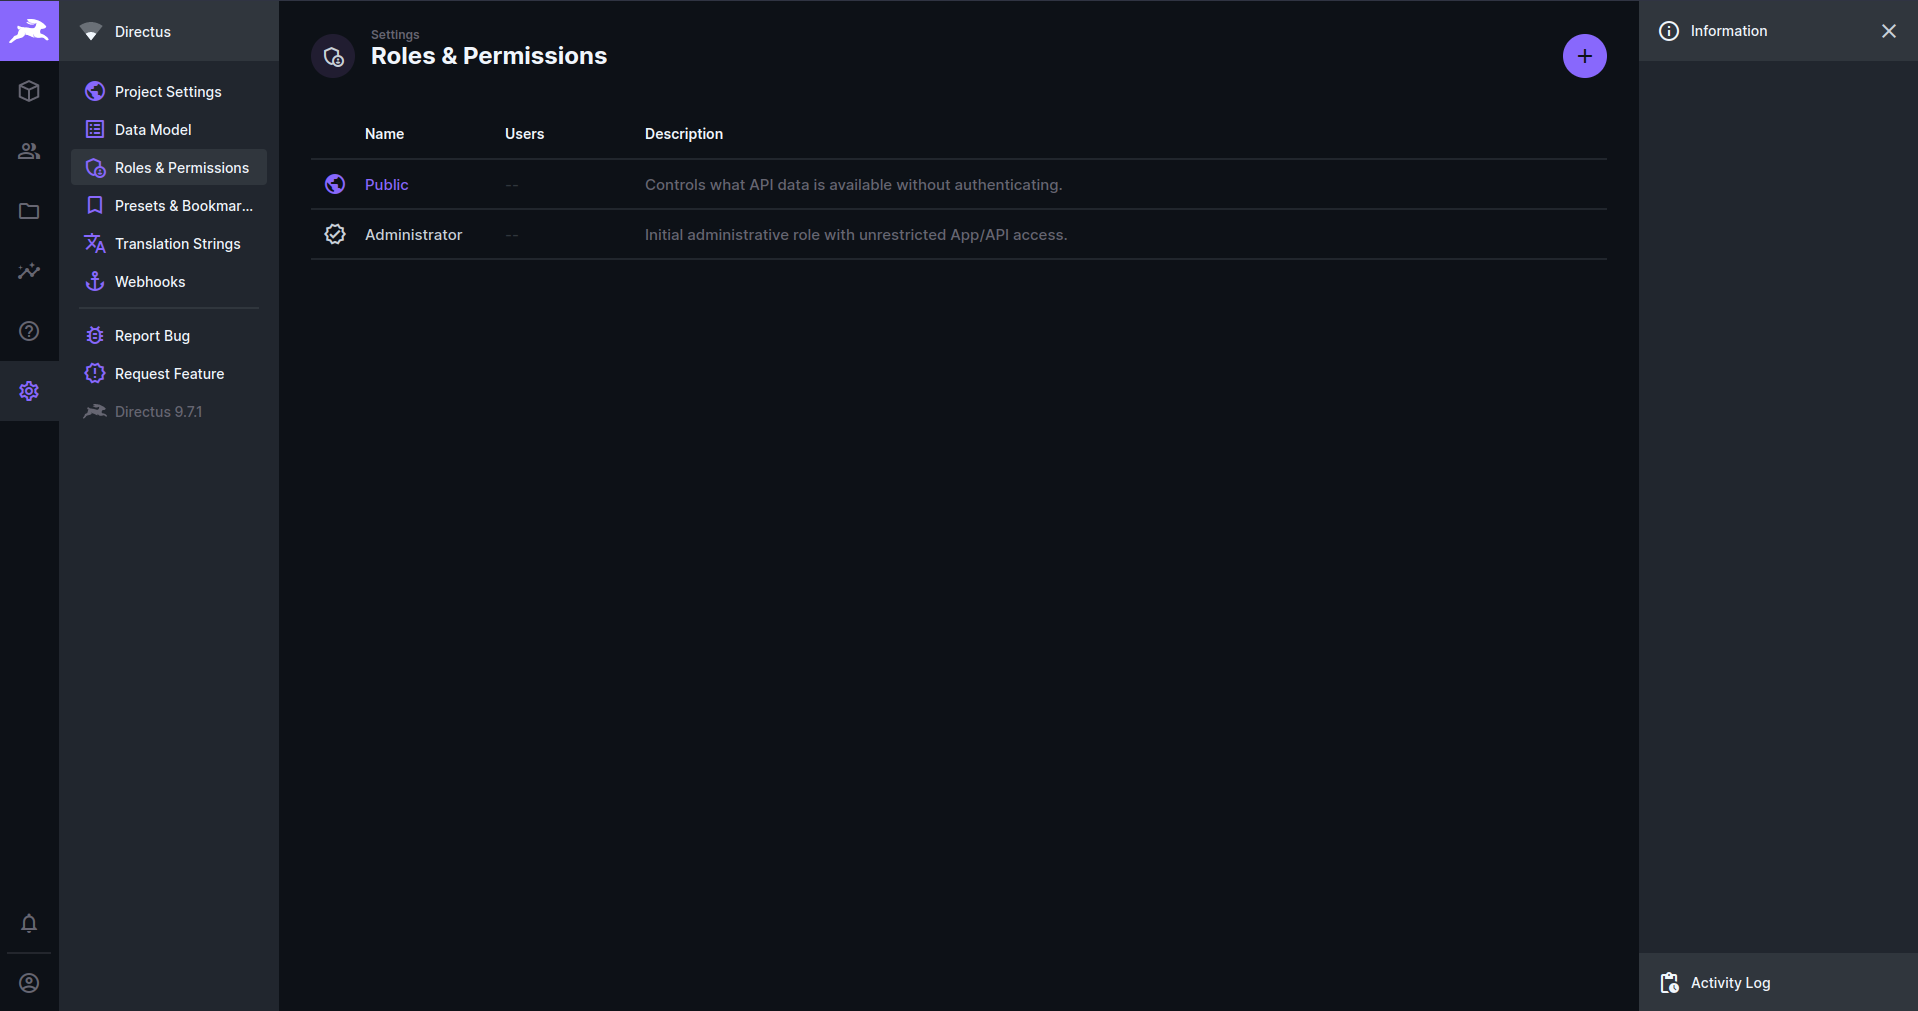
Go to the settings tab on the sidebar and then click on "Roles & Permissions" in the settings navigation. Next, click on "Public" -
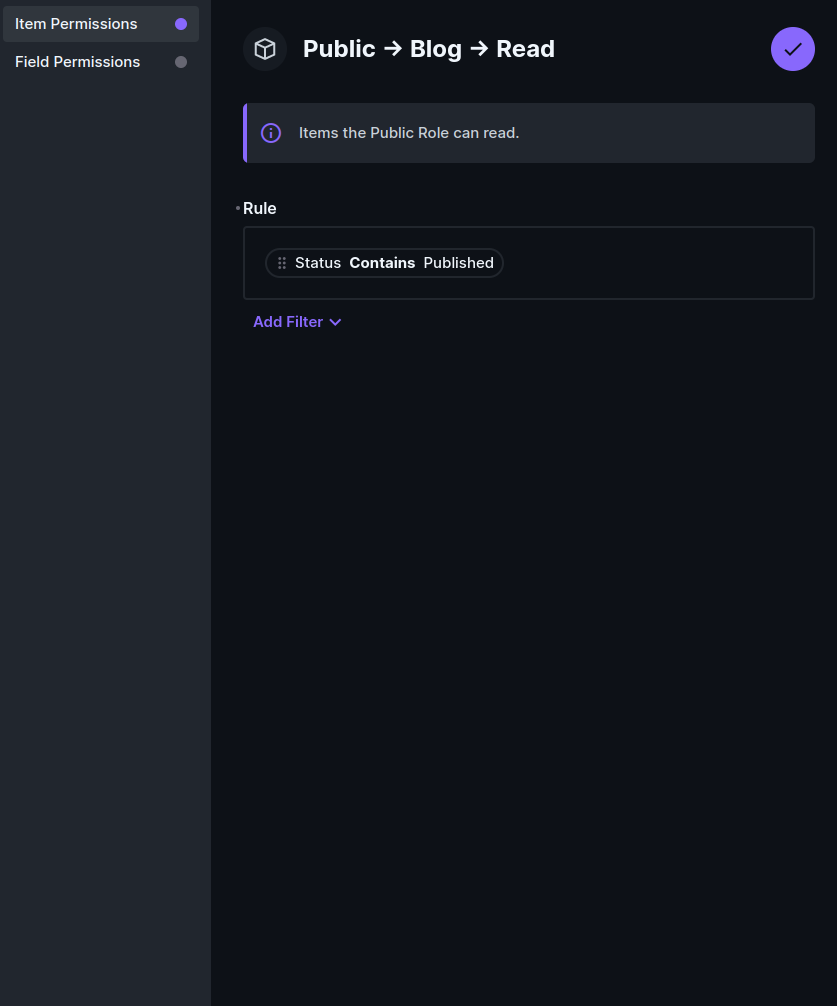
Here we can see our Blog collection. Click on the red not allowed sign under the eye (this denotes view permission). In the dropdown, select "Use Custom".
Unser "Item Permissions", add the following rule allowing public view access to only published items -
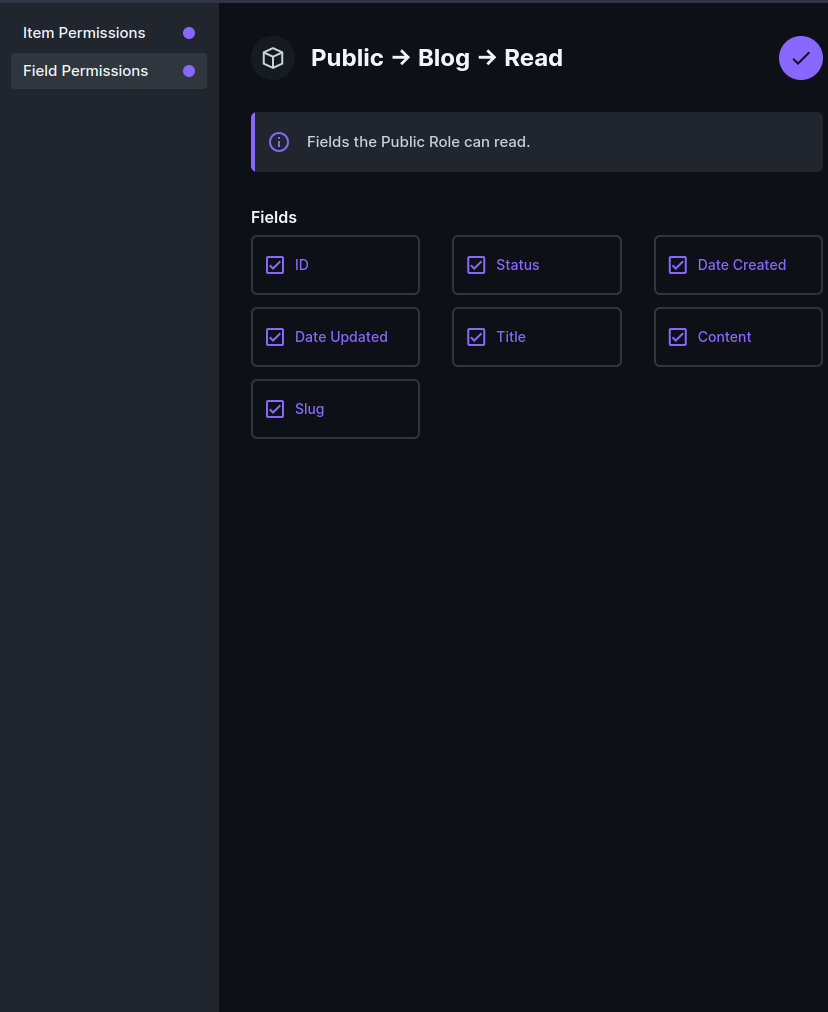
Under "Field Permissions", select all and click on the checkmark to save the permissions.
Let us start by creating a new Next.js app -
npx create-next-app nextjs-directus-on-demand-isr
# OR
yarn create next-app nextjs-directus-on-demand-isr
After it has been created, open the project in your favorite code editor.
Next, install the Directus JS SDK -
npm install @directus/sdk
# OR
yarn add @directus/sdk
Now, make a file called lib/directus.js and add the following code -
import { Directus } from "@directus/sdk";

const directus = new Directus(process.env.DIRECTUS_URL);

export default directus;
Here, we are initializing the SDK with the URL to our Directus backend. We must set this URL as an environment variable. Go ahead and create a new file called .env.local and add the environment variable -
DIRECTUS_URL=<PATH_TO_YOUR_DIRECTUS_INSTANCE_WITHOUT_ANY_OF_THE_PATHS>
Make sure to appropriately replace the URL with the one for your instance.
Now, open the pages/index.js file and replace it with the following code -
import Head from "next/head";
import Link from "next/link";
import directus from "../lib/directus";

import styles from "../styles/Home.module.css";

export default function Home({ posts }) {
  return (
    <div className={styles.container}>
      <Head>
        <title>Create Next App</title>
        <meta name="description" content="Generated by create next app" />
        <link rel="icon" href="/favicon.ico" />
      </Head>

      <main className={styles.main}>
        <h1 className={styles.title}>
          Welcome to A demo of Next.js with Directus
        </h1>

        <div className={styles.grid}>
          {posts.map((post) => (
            <Link key={post.id} href={post.slug} passHref>
              <a className={styles.card}>
                <h2>{post.title}</h2>
              </a>
            </Link>
          ))}
        </div>
      </main>
    </div>
  );
}

export const getStaticProps = async () => {
  const res = await directus.items("blog").readByQuery({
    limit: -1,
    fields: ["title", "slug", "id"],
  });

  return {
    props: {
      posts: res.data,
    },
  };
};
Here, we are fetching all the blog posts but only the title, slug, and id fields. We do this in getStaticProps and pass the data as a prop to the client. Hence, the fetching is done on the server environment, only at build time. (note that in a development environment, getStaticProps runs on every request)
Later on in the article, we are going to be looking at on-demand ISR that will run getStaticProps when a webhook is triggered.
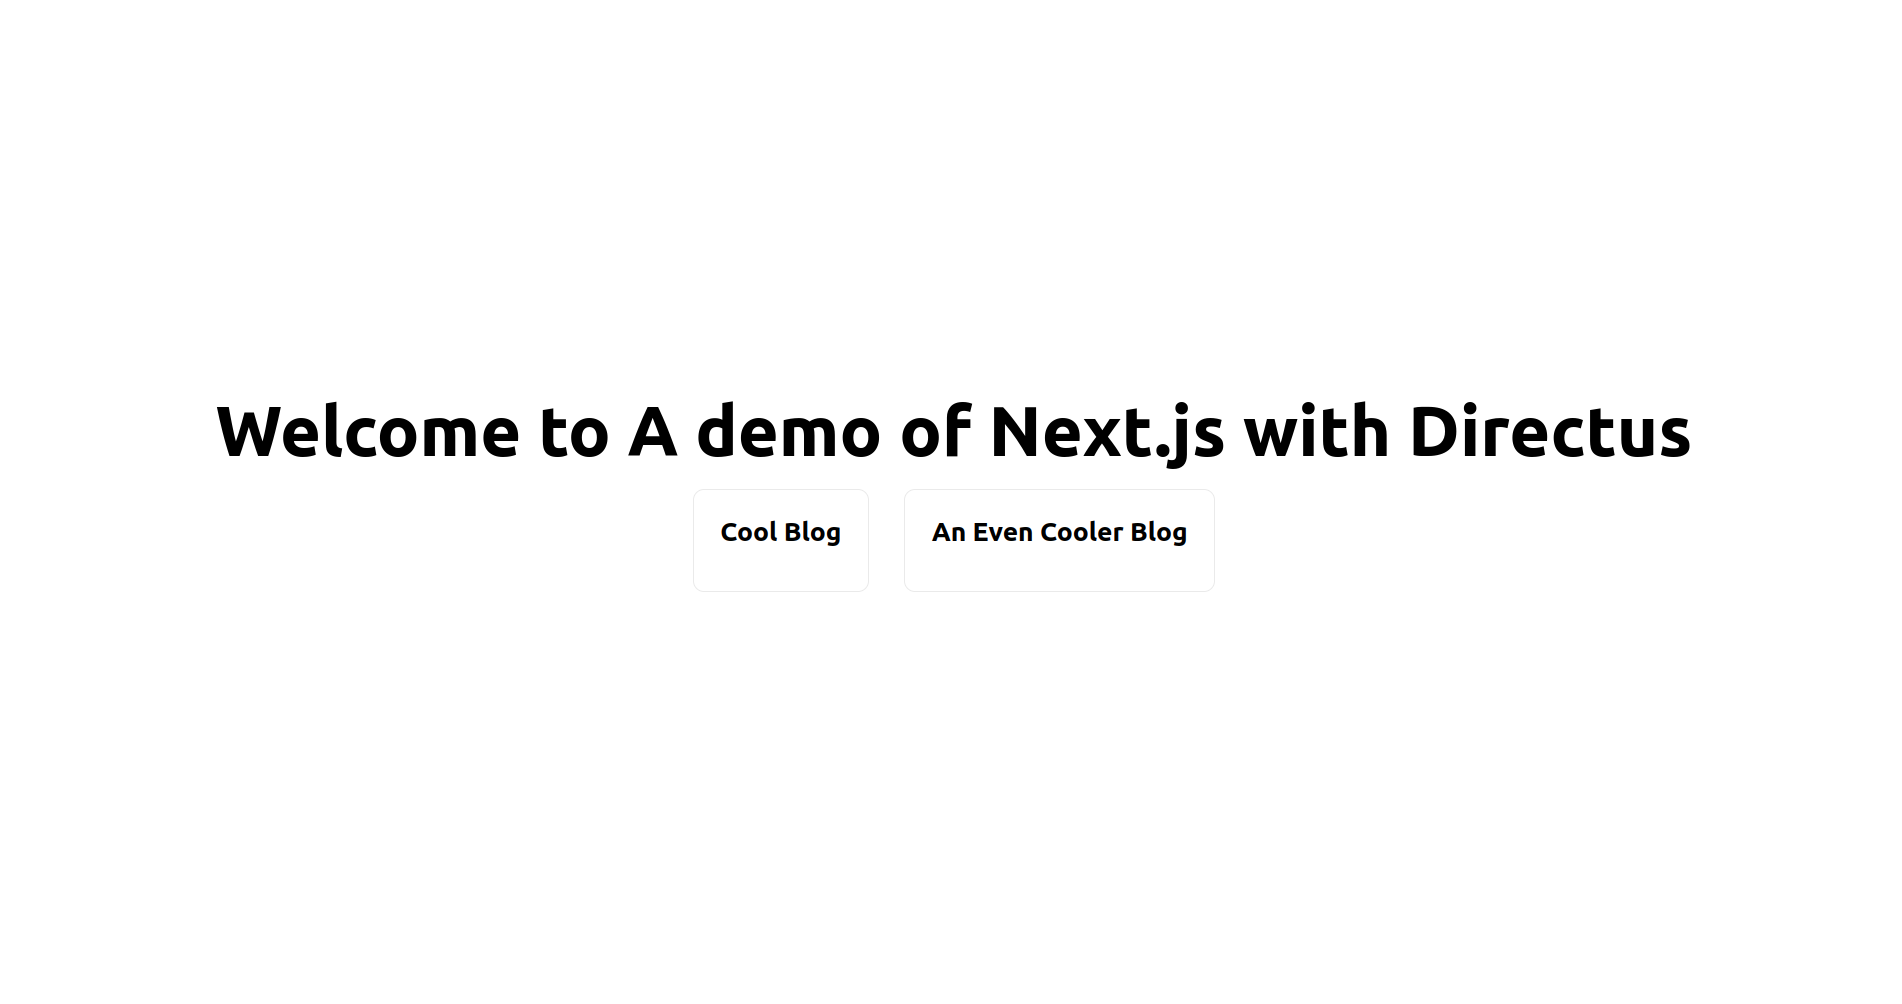
Once you run yarn dev and open up https://localhost:3000 on your web browser, you should be able to see your blog posts -
Now, if we click on the blog post cards, it will lead us to a 404 as we haven't set up our blog post pages yet. Let us do that now.
Create a new file pages/[slug].js and add the following code -
import directus from "../lib/directus";
import styles from "../styles/BlogPost.module.css";

const BlogPage = ({ post }) => {
  return (
    <div className={styles.container}>
      <h1>{post.title}</h1>
      <p>{post.content}</p>
    </div>
  );
};

export const getStaticProps = async ({ params }) => {
  const res = await directus.items("blog").readByQuery({
    filter: { slug: params.slug },
    fields: ["title", "content"],
  });

  return {
    props: {
      post: res.data[0],
    },
  };
};

export const getStaticPaths = async () => {
  const res = await directus.items("blog").readByQuery({
    limit: -1,
    fields: ["slug"],
  });

  return {
    paths: res.data.map((post) => ({
      params: {
        slug: post.slug,
      },
    })),
    fallback: false,
  };
};

export default BlogPage;
Here, in getStaticPaths, we are fetching only the slug for all blog posts. Then we are mapping over it and create an array of params to let Next.js know the paths that exist. Lastly, we set fallback to false so that any path not in the paths array redirects to a 404.
In getStaticProps we do a query where we filter by the slug field. We also specifically ask for only the title and content fields.
Lastly, we pass the data in through props and render it on the client-side.
Also, we can add some CSS for this page. Create a new file called styles/BlogPost.module.css and add the following to it -
.container {
  padding: 0 2rem;
}

.main {
  min-height: 100vh;
  padding: 4rem 0;
  flex: 1;
  display: flex;
  flex-direction: column;
  justify-content: center;
  align-items: center;
}
Now if we see our blog post page, we see that the content is rendering as a string and is not getting parsed as markdown -
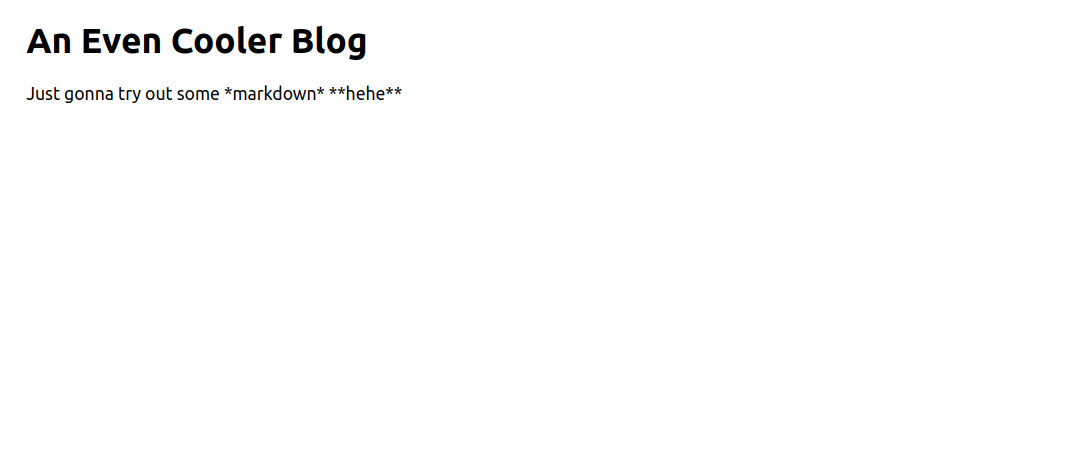
Let's fix this
Although MDX supports more advanced features like the ability to render React components, we are not going to be looking at that in this article. However, let us focus on parsing the markdown and rendering the necessary HTML.
We are going to be using next-mdx-remote for this tutorial. Let us install it -
npm install next-mdx-remote
# OR
yarn add next-mdx-remote
Now, replace the code in pages/[slug].js with the following -
import { serialize } from "next-mdx-remote/serialize";
import { MDXRemote } from "next-mdx-remote";

import directus from "../lib/directus";
import styles from "../styles/BlogPost.module.css";

const BlogPage = ({ post }) => {
  return (
    <div className={styles.container}>
      <h1>{post.title}</h1>
      <MDXRemote {...post.content} />
    </div>
  );
};

export const getStaticProps = async ({ params }) => {
  const res = await directus.items("blog").readByQuery({
    filter: { slug: params.slug },
    fields: ["title", "content"],
  });

  return {
    props: {
      post: {
        title: res.data[0].title,
        content: await serialize(res.data[0].content),
      },
    },
  };
};

export const getStaticPaths = async () => {
  const res = await directus.items("blog").readByQuery({
    limit: -1,
    fields: ["slug"],
  });

  return {
    paths: res.data.map((post) => ({
      params: {
        slug: post.slug,
      },
    })),
    fallback: false,
  };
};

export default BlogPage;
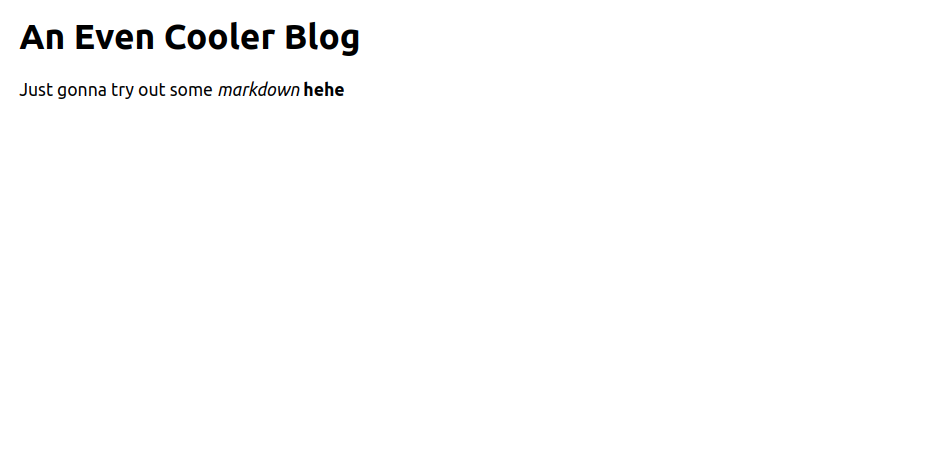
Now, if we navigate to a blog post, we can see the rendered markdown -
If we build the Next.js application and serve a production build and then make changes in Directus, they will not reflect in our website unless we re-build it. Here we got 3 options -
With the first option, it can be expensive and time-consuming. Re-building also invalidates the cache for all pages in many cases. This might cause issues when you are dealing with larger websites.
With the second option, there will be unnecessary API calls to our server and data might be stale.
This leaves us with the third option. Although setting it up is slightly more complicated than the other 2 methods, it does not have any of the downsides the other 2 methods have. And, I am going to show you how exactly to set it up so it shouldn't be very hard :)
Note: Currently the website is hosted locally but Directus needs a publicly accessible URL as a webhook. You can either host it somewhere and then test it out or start a local tunnel using something like Ngrok
Create a new file under pages/api/revalidate.js and add the following code -
import directus from "../../lib/directus";

const handler = async (req, res) => {
  const { collection } = req.body;
  const headers = req.headers;

  if (!headers["x-webhook-secret"]) {
    return res.status(403).send("Forbidden");
  }

  const receivedSecret = headers["x-webhook-secret"];

  const secret = process.env.REVALIDATE_SECRET;

  if (receivedSecret !== secret) {
    return res.status(403).send("Forbidden");
  }

  if (collection === "blog") {
    const { keys } = req.body;

    for (const key of keys) {
      const directusRes = await directus
        .items(collection)
        .readOne(key, { fields: ["slug"] });

      await res.unstable_revalidate(`/${directusRes.slug}`);
      await res.unstable_revalidate("/");
    }
  }

  return res.status(200).send("Success");
};

export default handler;
This is a simple Next.js API route.
First, we check for the x-webhook-secret header and compare it to a preset webhook secret, set as an environment variable. We should always use a webhook secret to prevent spam. It can also be a security risk in some cases (but here it is not as we are not relying on data sent as an event payload for input).
Directus sends us some event payload and we are destructuring the collection field which contains the name of the collection where the change was made. We check if this is the blog collection and then go ahead with revalidating the pages. Although this does not make much sense here, if our pages had multiple sets of pages that could be revalidated, we could specifically just revalidate a set of pages instead of all sets of pages. (for example, if there was a landing and then a blog page, for changes to the landing collection, we could just revalidate the landing page but for changes to the blog page, we could revalidate only the specific blog page and the blog index).
Now, the event payload does not contain the slug for the blog post but it has the id. We use the Directus SDK to get the slug corresponding to that id and then revalidate that slug page and the home page (as it has the blog index).
Lastly, open up the .env.local file and add the REVALIDATE_SECRET environment variable. For the value, it can be a random string. The easiest way would be to use the output of the following command -
openssl rand -base64 32
To test this out, we cannot use the development environment as getStaticProps runs every time a request is made on the development environment. Either build the site with npm run build or yarn build, serve it locally with npm run start or yarn start, and then use a local tunneling solution like Ngrok or else, deploy it to a hosting platform like Vercel.
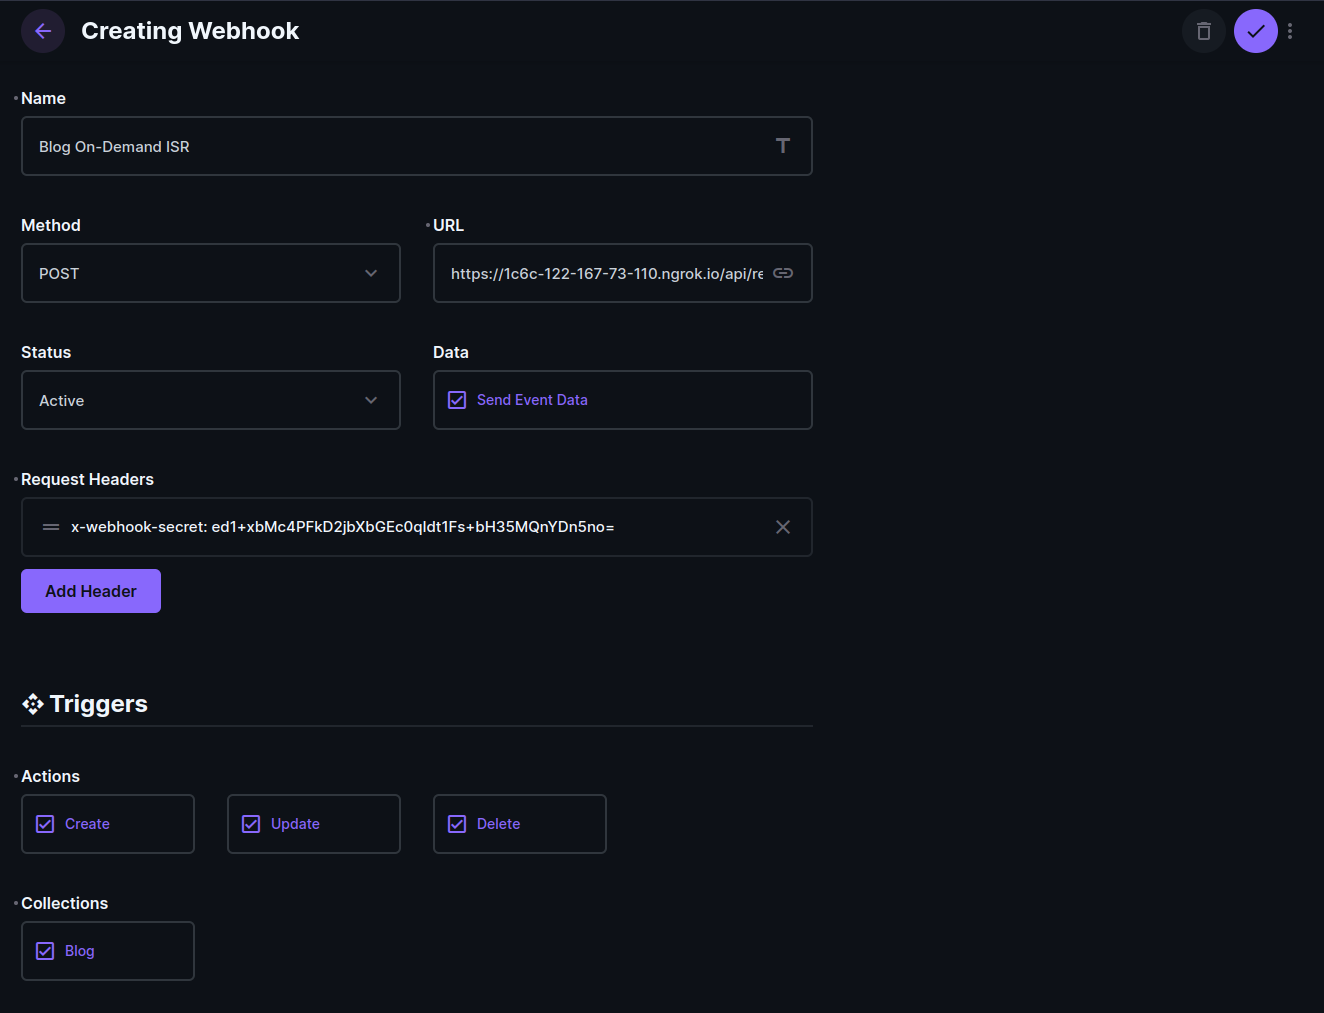
Now head over to your Directus instance and go to the settings tab. Now click on "Webhooks" in the side navigation and create a new one. Give it a name and for the URL field, add your Ngrok URL or your hosted instance. Make sure that the slug is /api/revalidate. The URL should look like https://<my-domain>/api/revalidate. Make sure the status is set to active and the "Send Event Data" checkbox is checked.
Now, add a header called x-webhook-secret with the value of the secret you created earlier and set it as an environment variable. Under "Triggers", check all the actions and the blog collection. Now click the checkmark to save it. Here is what it looks like for me -
That has been quite a lot! Let us go over the things we did -
next-mdx-remote to render markdownHope you liked this tutorial! Do share it if you have found it useful and you can follow me on Twitter too :)
See you on my next blog 🤞