How to Make a Back to Top Button and Page Progress Bar with HTML, CSS, and JavaScript

This article was first posted on Freecodecamp on the 21st of December, 2021. Link - https://www.freecodecamp.org/news/back-to-top-button-and-page-progressbar-with-html-css-and-js/
You've probably seen a "back-to-top" button at the bottom-right corner on many websites when you're scrolling around. Clicking on that button takes you back to the top of the page.
This is a great feature to have on any website, and today we are going to see how to build it with nothing but HTML, CSS, and JavaScript.
We are also going to look at how to add a page progress bar, one at the top which will increase in progress as we scroll down and decrease as we scroll up.
Note that you can add this to any website, whether it's an existing one or something you have just started working on. The only requirement is that the website should have enough content (or a big enough body height) to be scrollable, or else it will not make sense to add this.
Here is the CodePen of what we are going to build (scroll to see the magic):
How to Make a Back to Top Button for Your Website
First of all, I am going to make the body of the website huge so that it can be scrolled:
body {
  height: 5000px;
}
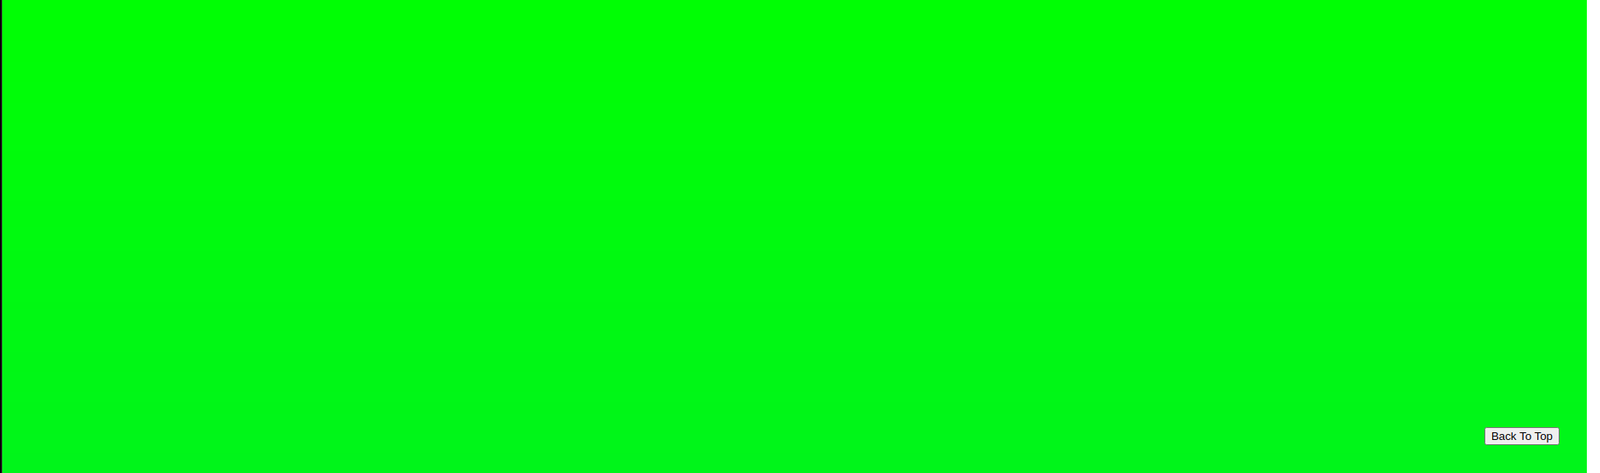
I am also going to add a linear gradient to the document body so that we can know that the document is being scrolled:
body {
  height: 5000px;
  background: linear-gradient(#00ff04, #09aad3);
}
Let's also quickly add the Back To Top button to the markup:
<button class="back-to-top">Back To Top</button>
Let's also position the button like this:
.back-to-top {
  position: fixed;
  right: 2rem;
  bottom: 2rem;
}
Here, we are giving it a fixed position so that it remains in view even if the document is scrolled. We are pushing it 2rem from the bottom and right side of the screen as well.
This is how our document should be looking like now:
Now, it is time for the fun part – adding the logic.
How to only show the Back To Top button on scroll
Now, we don't want the Back To Top button to be visible all the time – like when the user is at the top of the page. So we are going to show it conditionally. For this example, we are only going to show it when the user has scrolled at least 100 pixels.
First of all, we need to hide the button whenever the user opens the site. We also need to make sure that we add this style, separate from the button's base styles, as the button needs to be shown on scroll.
HTML:
<button class="back-to-top hidden">Back To Top</button>
CSS:
.hidden {
  display: none;
}
Here's the code for conditionally showing the button:
const showOnPx = 100;
const backToTopButton = document.querySelector(".back-to-top")

const scrollContainer = () => {
  return document.documentElement || document.body;
};

document.addEventListener("scroll", () => {
  if (scrollContainer().scrollTop > showOnPx) {
    backToTopButton.classList.remove("hidden")
  } else {
    backToTopButton.classList.add("hidden")
  }
})
Here, the scrollContainer function returns document.documentElement, which is nothing but the HTML element of our document. In case that is not available, the document.body element is returned instead.
Next, we are adding an event listener to our document that will trigger the callback function on scroll. The scrollTop (MDN Reference) value that we are getting from the respective scrollContainer is nothing but the number of pixels that element has been scrolled from the top.
Here, when that value is higher than our set showOnPx value, that is 100px, we remove the hidden class from our button. If that is not the case, we add the class to the button (especially useful for when the user scrolls up manually).
Now, let's work on the logic to scroll to the top whenever the user clicks the button.
How to scroll to top whenever the user clicks the Back To Top Button
Let's quickly write a function for this:
const goToTop = () => {
  document.body.scrollIntoView();
};
The scrollIntoView() (MDN Reference) function scrolls the page to bring the element it is being called upon into view. Here we are calling it on the body so the page will be scrolled to the top.
Now, we need this function to be called whenever the Back To Top Button is clicked:
backToTopButton.addEventListener("click", goToTop)
That's it! We have successfully added the Back To Top functionality to our website.
How to make the scroll smooth
Now, that back to top scroll was quite harsh. Let's look at making it smoother. We can do this by passing in the behaviour as smooth to the scrollIntoView() function.
const goToTop = () => {
  document.body.scrollIntoView({
    behavior: "smooth",
  });
};
That's it! Now the scrolling is nice and smooth.
How to style the Back To Top button
Right now, the Back To Top button is a simple HTML button with some text – and that looks quite ugly. So let us style it.
Before that, we are going to replace the text with an SVG so let me quickly grab one from HeroIcons:
<button class="back-to-top hidden">
  <svg
    xmlns="http://www.w3.org/2000/svg"
    class="back-to-top-icon"
    fill="none"
    viewBox="0 0 24 24"
    stroke="currentColor"
  >
    <path
      stroke-linecap="round"
      stroke-linejoin="round"
      stroke-width="2"
      d="M7 11l5-5m0 0l5 5m-5-5v12"
    />
  </svg>
</button>
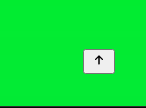
We give the icon a class called back-to-top-icon. This is important as the icon is not visible right away and so needs to be styled in order to be visible.
.back-to-top-icon {
  width: 1rem;
  height: 1rem;
  color: black;
}
This is how our button should look now:
The button still looks quite ugly, so let's style it:
.back-to-top {
  position: fixed;
  right: 2rem;
  bottom: 2rem;
  border-radius: 100%;
  background: #141c38;
  padding: 0.5rem;
  border: none;
  cursor: pointer;
}
Now, the up arrow in our button is not visible, let us change its color to something lighter so that it is visible:
.back-to-top-icon {
  width: 1rem;
  height: 1rem;
  color: #7ac9f9;
}
We can also add a hover effect just to make it a tad better:
.back-to-top:hover {
  opacity: 60%;
}
Now, this is how our button should look:

How to make the button's entry smoother
The button seems to appear out of nowhere whenever we scroll. Let's change this behaviour by adding a transition to it and instead of changing the display, we are going to change its opacity:
.back-to-top {
  position: fixed;
  right: 2rem;
  bottom: 2rem;
  border-radius: 100%;
  background: #7ac9f9;
  padding: 0.5rem;
  border: none;
  cursor: pointer;
  opacity: 100%;
  transition: opacity 0.5s;
}
.hidden {
  opacity: 0%;
}
This also makes our hover effect smoother.
Now let's focus on the page progress bar.
How to Add a Page Progress Bar to Your Website
We will be making a progress bar by using a div. As the user scrolls through the page, we will determine the percentage scrolled and keep increasing the width. Let's add the div first and give it a class name of progress-bar:
<div class="progress-bar" />
Now we'll add some styles to it:
.progress-bar {
  height: 1rem;
  background: white;
  position: fixed;
  top: 0;
  left: 0;
}
We are making it fixed so that it is visible as the user scrolls. We are also positioning it at the top of the page.
Now, let's add the JavaScript that sets the width of the progress bar:
const pageProgressBar = document.querySelector(".progress-bar")
document.addEventListener("scroll", () => {
  const scrolledPercentage =
      (scrollContainer().scrollTop /
        (scrollContainer().scrollHeight - scrollContainer().clientHeight)) *
      100;

  pageProgressBar.style.width = `${scrolledPercentage}%`

  if (scrollContainer().scrollTop > showOnPx) {
    backToTopButton.classList.remove("hidden");
  } else {
    backToTopButton.classList.add("hidden");
  }
});
Note that we are using our existing document scroll event listener function.
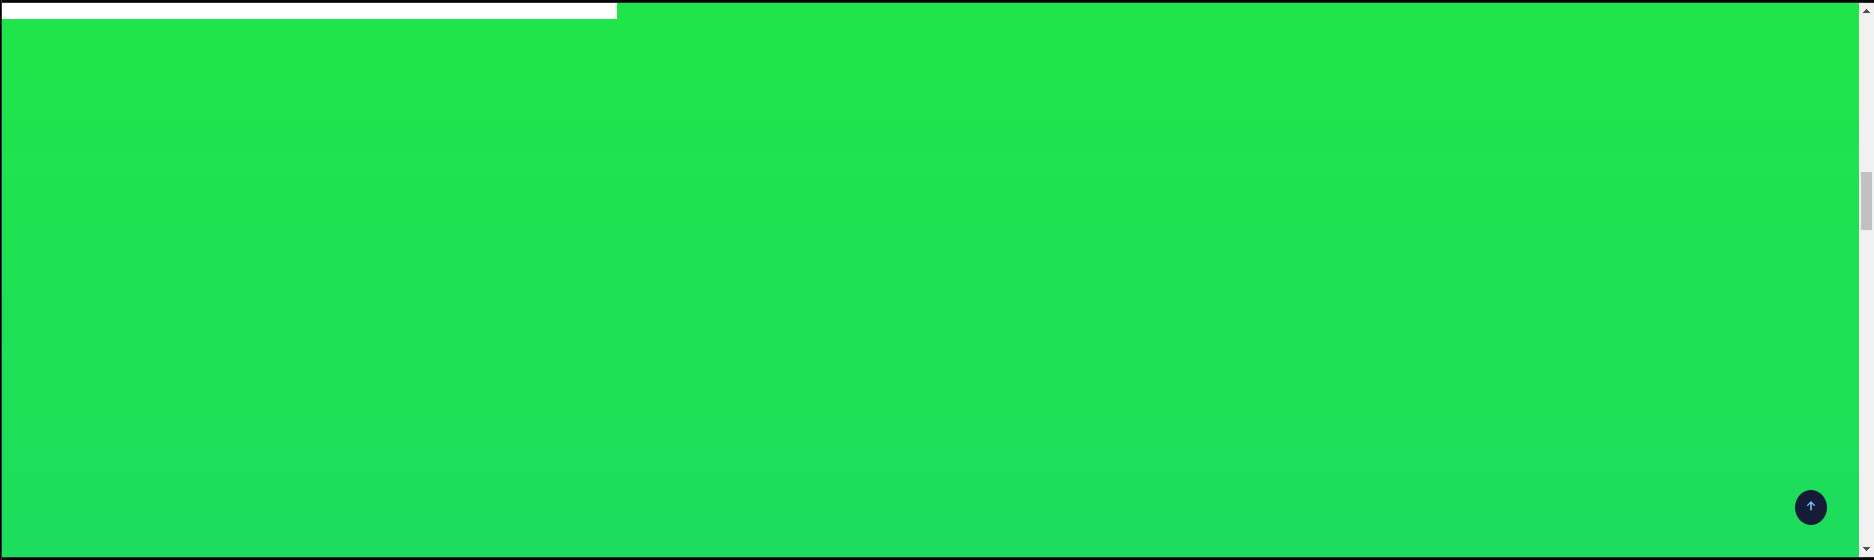
This is how our progress bar should look like when scrolled:
How to calculate the percentage scrolled
Calculating percentage scrolled is actually quite simple. The scrollTop (MDN Reference) property is the number of pixels scrolled as mentioned earlier.
scrollHeight (MDN Reference) is the minimum height required to fit in all its children in the element it is being called upon.
And finally, clientHeight (MDN Reference) is the inner height of the element it is being called upon.
The clientHeight is subtracted from the scrollHeight because if we don't do that, the area visible will be taken into account as well so we would never hit 100% scrolled.
I have put together this diagram to explain it better:
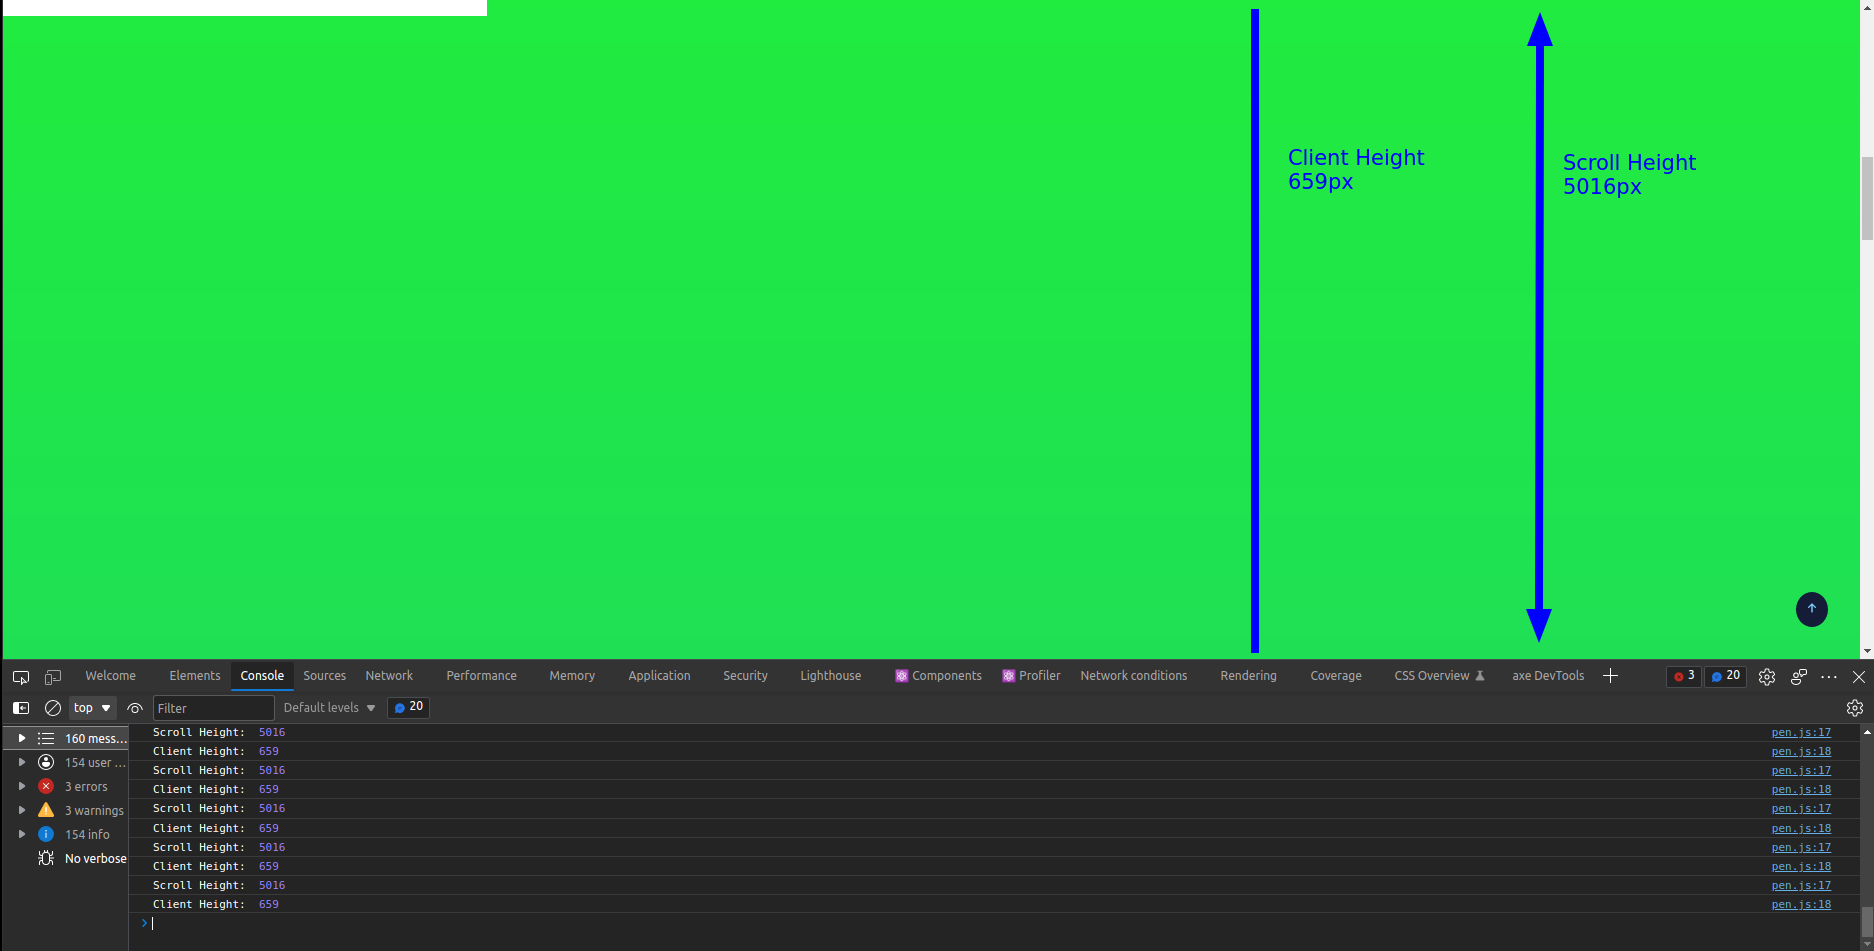
Here, the line without the arrows represents the clientHeight which is the height of the content visible to us. The line with the arrows represents the scrollHeight and shows that this line continues in both directions. This is the height of the view required to fit in all the content.
At last, the scrollTop value is divided by the difference of scrollHeight and clientHeight and we get a decimal value of the amount scrolled. This is multiplied by 100 to get the value in percentage that we use to determine the width of the div, that is the progress on our progress bar.
Conclusion
I hope you have found this article helpful and are able to implement a Back To Top Button and a Page Progress Bar on your website.
Do reach out to me on Twitter if you want to ask me anything. The next step would be to implement this on your website and make changes as you see fit.
Resources
- CodePen for this example
- MDN Reference for
scrollIntoView() - MDN Reference for
scrollTop - MDN Reference for
scrollHeight - MDN Reference for
clientHeight
This article was first posted on Freecodecamp on the 21st of December, 2021. Link - https://www.freecodecamp.org/news/back-to-top-button-and-page-progressbar-with-html-css-and-js/