How to Write Good Commit Messages with Commitlint

This article was first published on Freecodecamp on the 13th of November, 2021 - https://www.freecodecamp.org/news/how-to-use-commitlint-to-write-good-commit-messages/
We are often in a hurry to commit our changes in Git and so we write something random in our commit messages. In fact, I have seen people putting the date and time or even something like commit 1, commit 2 in their messages.
This is not a good practice, as commit messages should be helpful and make sense so that the people working on the project, reading the code, or contributing to it understand the changes from the message itself.
Now let's look at a simple way to solve this issue.
What is Commitlint?
Commitlint is a simple tool that lints your commit messages and makes sure they follow a set of rules.
It runs as a husky pre-commit hook, that is, it runs before the code is committed and blocks the commit in case it fails the lint checks.
How to Use Commitlint with a Simple JavaScript Project
In this example, we are going to see how we can set up commitlint in a simple JavaScript project. To get started, let's create an empty project first:
mkdir commitlint_example && cd commitlint_example

npm init
# OR
yarn init
# Just accept the defaults when prompted to configure the project
Now, let's initialise an empty Git repository:
git init
We must also add a .gitignore file to prevent some files from being committed:
node_modules/
Now we'll add a file called index.js and just log out something for now:
console.log("Hello, World!!!")
Running node . should print out the text on your terminal like this:
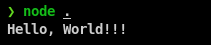
Running node . prints out Hello, World!!!
How to Set Up commitlint
We're going to set up commitlint following the official local setup docs here.
Firstly, we need to install the commitlint CLI and add a commitlint config (in this case the default Conventional Commits Config).
npm install @commitlint/cli @commitlint/config-conventional --save-dev
# OR
yarn add -D @commitlint/cli @commitlint/config-conventional
We need to add some configuration to a file named commitlint.config.js like this:
module.exports = {
    extends: [
        "@commitlint/config-conventional"
    ],
}
Now we need to install husky to run commitlint as a pre-commit hook.
npm install husky --save-dev
# OR
yarn add -D husky
We also need to enable the husky hooks:
npx husky install
# OR
yarn husky install
We can add a prepare step which enables the husky hooks upon installation:
npm set-script prepare "husky install"
Now that we are done installing husky, we need to add a pre-commit hook to run commitlint before the code is committed.
npx husky add .husky/commit-msg "npx --no -- commitlint --edit $1"
# OR
yarn husky add .husky/commit-msg "yarn commitlint --edit $1"
Now we're done setting up commitlint. So let's test to see if it works.
First, we'll stage all files to commit them:
git add -A
Now, let's try to commit the changes, without following the default convention:
git commit -m "set up a basic js project, added commitlint and husky for liniting commit messages"
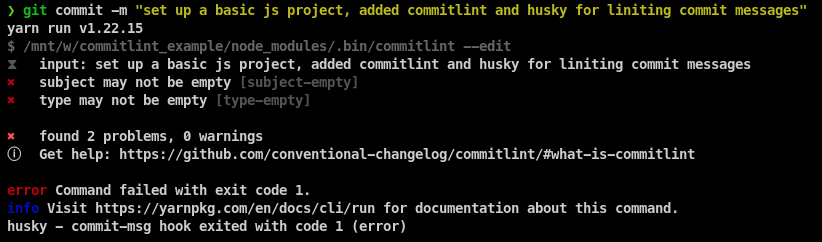 You should get the above output (or something similar) which errors out. If the commit is successful, you have likely gone wrong somewhere. Make sure that you have run all the commands above and try undoing the commit, running the scripts, and committing again until it fails.
Now it is time to commit properly. Run this command:
git commit -m "ci: initialised basic js project, added commitlint and husky to lint commit messages"
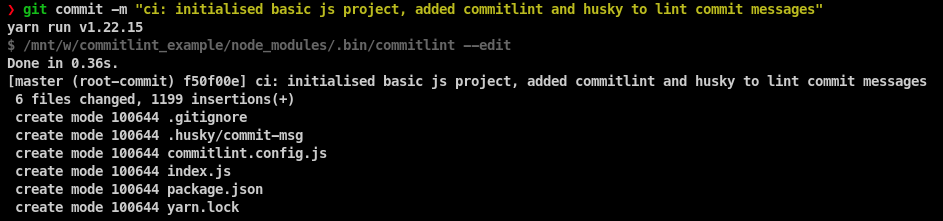 And now it all looks good.
How the Default commitlint Convention Works
The default commitlint convention uses the Conventional Commits Convention where there is a type, optionally a scope, a subject, and optionally a body and footer.
For example I can fix a bug related to UI and then the commit message can be fix(ui): Button was not showing up properly on mobile view. Here the type is fix, that is, a fix for a bug, the scope is ui as the fix was related to the ui, and the subject provides more context about the issue.
Note that I can supply multiple scopes, for example, feat(ui,lang): added an option to save the image as svg and added language support for Spanish. Here we introduce 2 features – a new button to save an image as svg and language support for Spanish. This means that there are 2 scopes. The scopes can be separated by the 3 delimiters - ,, / and \.
Just a quick note here: you should usually keep commits small and specific, and while there might be some edge cases, this is not one. We're just using it for example purposes.
Breaking changes are usually represented with an exclamation ! mark but you can also write them in bold in the footer of the commit message. Doing both is the best practice where the footer gives more information. Here's an example:
refactor(runtime)!: Dropped support for NodeJS v12

BREAKING CHANGE: Support for NodeJS v12 has been dropped due to the latest refactor, please upgrade to the latest LTS version of NodeJS
This brings us to multi-line commit messages. Sometimes we need to give more context on something. In this case, it best to include the info in the commit message to make it clear to anyone trying to understand what all has changed and why it has changed in a commit. Here's an example:
docs: Added an aria-label in the IconButton example
aria-label is a required prop by the IconButton component. If it is not present, the build will fail
- Advantages of using commitlint Automatic changelogs – Due to commits following a standard convention, tools like standard-version can automatically generate changelogs
- Better understanding of commits – A commit with a specific type and scope will help you understand what code the commit changes
- Adherence to a particular convention – When you have a big project and a lot of people committing to it, people might forget to use the convention. commitlint blocks such commits so that the commits adhere to the defined convention. Now you know the basics of commitlint. And in the next part of this article, we are going to dive a little deeper and see how to write custom commitlint rules and how to run a commitlint CI in GitHub Actions.
How to Create Custom commitlint Rules
The Conventional Commits Convention works for most projects. But sometimes you might want to add some more rules specific to your use case.
For a complete reference, please look at the official documentation here.
For our example here, we'll use an application which has a library of buttons made with TailwindCSS. You can add your creation to this application through a pull request.
Now these commits can have different types, so let's take a button for this example. This would require me to override the type-enum rule in the conventional commits convention.
To do this, I will create a rules object in my commitlint config and add button as a type. This is how our commitlint.config.js should look:
module.exports = {
    extends: [
        "@commitlint/config-conventional"
    ],
    rules: {
        "type-enum": [2, "always", ["build", "chore", "ci", "docs", "feat", "fix", "perf", "refactor", "revert", "style", "test", "button"]],
    }
}
Here I have just added the button type on top of the default types. Now let's commit this:
git add -A
git commit -m "ci(commitlint): added button as a type of commit"
Now we'll test our button type. For this example, I am just going to add a new line to our index.js file. This is how it should look:
console.log("Hello, World!!!")
console.log("New Button")
Now, let's commit it:
git add -A
git commit -m "button: added a new console.log to qualify as a button"
 You should get the above output.
How to Use Commitlint with GitHub Actions
Commit messages are linted locally, but sadly such checks can be skipped locally. So we can add a step in our CI/CD workflow to double-check.
In this example, we are going to be using GitHub Actions but there are official guides for Travis CI, Circle CI, and GitLab CI as well.
How to Push our Code to GitHub
Firstly, we need to push our code to GitHub to use GitHub Actions. So let's do that real quick.
I am going to be using the GitHub CLI for this but you can do it via the GUI – just don't forget to add the upstream to the repository.
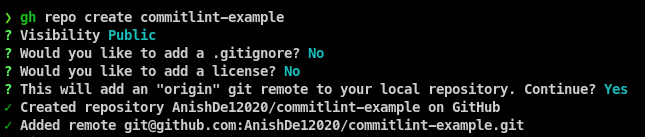
We can push the code using git push origin master.
How to Set Up the Workflow
We are going to be using a pre-built GitHub Action for this example, which you can find here: https://github.com/wagoid/commitlint-github-action.
We need to make a new folder called .github and then a new folder in it called workflows. Then we can add a file called commitlint.yml and add the workflow configuration.
.github/workflows/commitlint.yml
name: Lint Commit Messages
on: [pull_request, push]

jobs:
  commitlint:
    runs-on: ubuntu-latest
    steps:
      - uses: actions/checkout@v2
        with:
          fetch-depth: 0
      - uses: wagoid/commitlint-github-action@v4
This workflow will run every time code is pushed to GitHub and every time a pull request is opened. To test it, let's commit and push our code.
git add -A
git commit -m "ci(commitlint,workflow): added GitHub action workflow to run commitlint on push and pr"
git push origin master
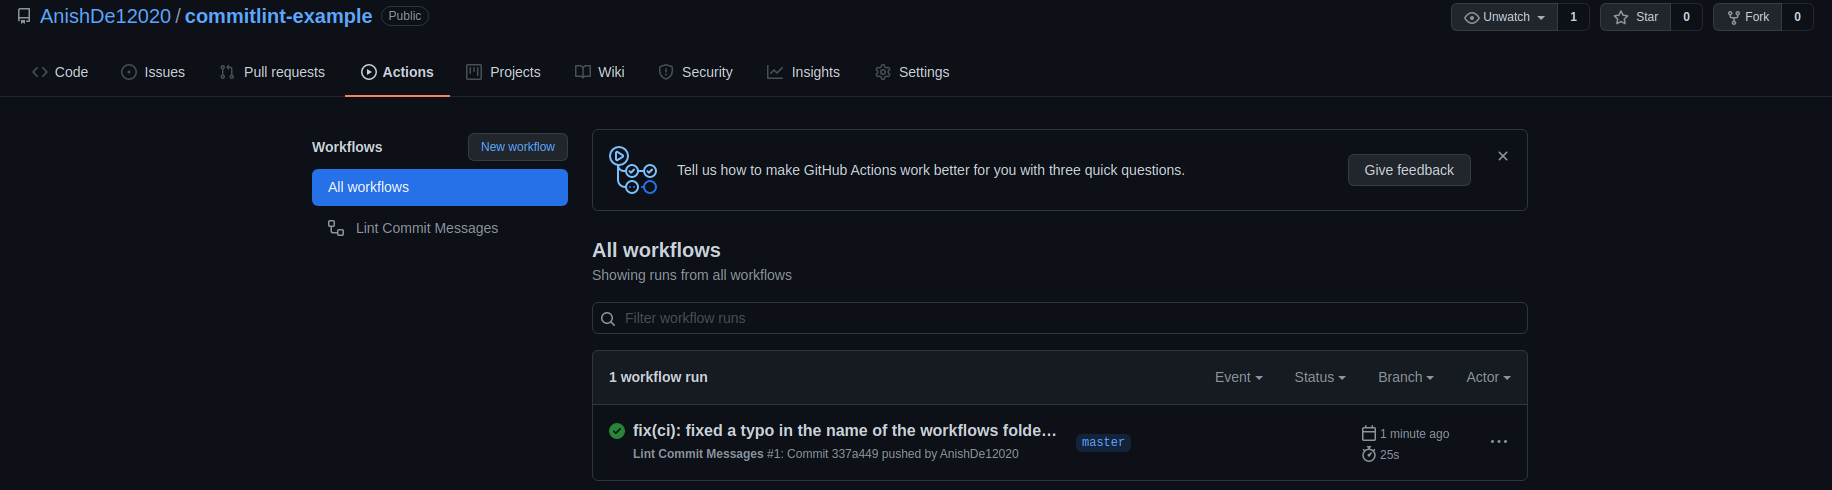
Now, we can go to the GitHub repository and then the actions tab and we can see the workflow.
I made a typo in the name of the workflows folder so I had to fix that and commit and push again so the commit name is different.
 When you look at the details, you can see that the workflow has been successful as all the commits until now have adhered to the convention.
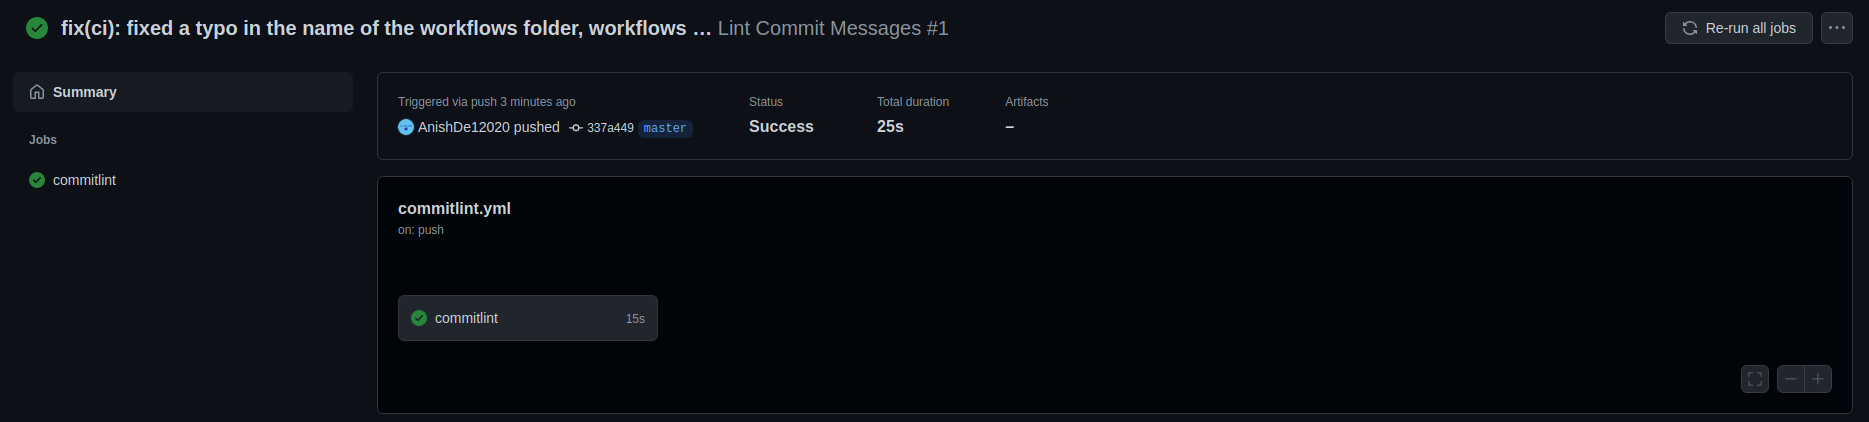
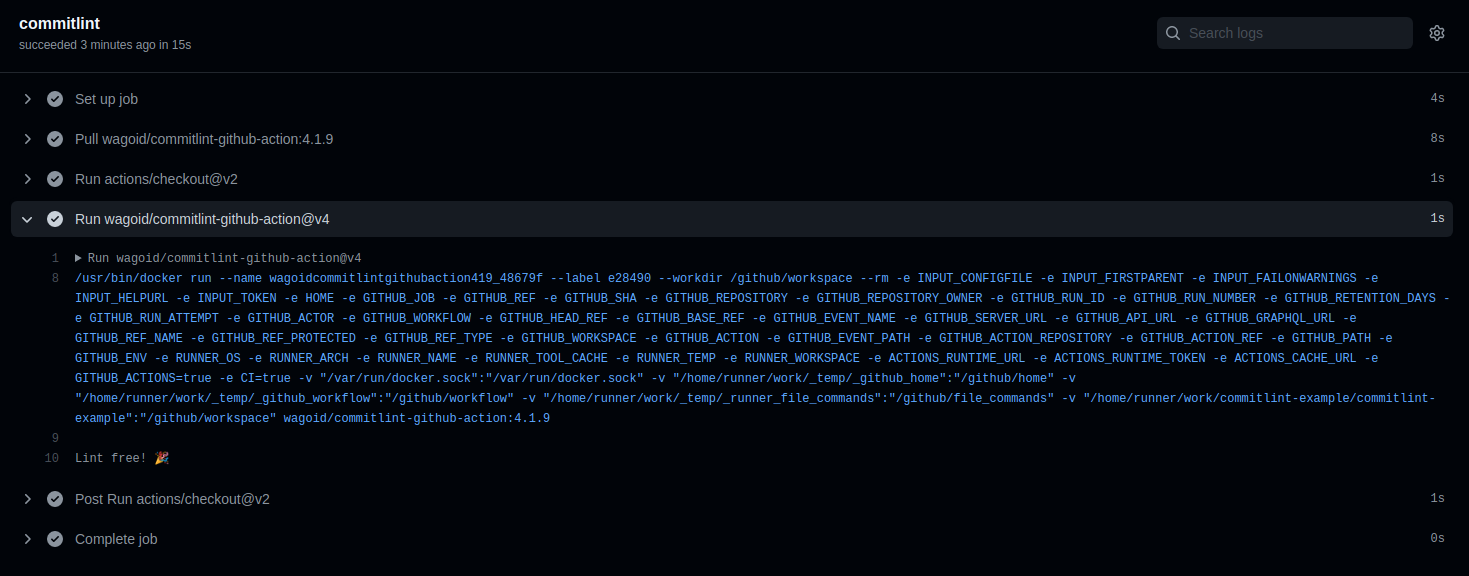
We can also inspect the logs:
What's next? I hope everything has worked well for you so far. If you had any issues, feel free to reach out to me on Twitter and I will be happy to help 😃.
Now that you have commitlint set up, it's a good idea to add automated changelogs. So head over to the standard version repository and try to implement it on your own!
Helpful Links
- Demo Repository - https://github.com/AnishDe12020/commitlint-example
- Commitlint website and docs - https://commitlint.js.org/#/
- Commitlint GitHub action - https://github.com/wagoid/commitlint-github-action
- Standard Version GitHub Repository - https://github.com/conventional-changelog/standard-version
- Husky website and docs - https://typicode.github.io/husky/#/
- Conventional Commits - https://www.conventionalcommits.org